TheIVJackal
Freedom through Jesus
The Owners Manual states that you should change your Fuel Filter every 4 years or 60,000 miles, which ever comes first. I’ve had my car for a couple years now and have no idea if the filter has ever been changed. I changed mine and the fuel flows much more freely through the filter now. I know this because when I removed the old one, I tried to blow through it and I had to blow much harder for the air to come out the other end vs. the new one I just bought. There are 2 benefits I can think of right now from the new filter, one is that the fuel pump will have a longer life span now as it does not have to pump as hard to get the same amount of fuel pressure at the injectors and two, because the fuel reaches the injectors easier, you get a better spray pattern out of the injectors meaning better fuel economy and combustion. If you were considering using a Fuel System Cleaner, STP suggests that you use the cleaner after the new filter is installed. Now that you know why you should change it, here’s how!
Tools Needed:
10mm, 12mm, 17mm Sockets
14mm Wrench
Rags
Step 1:
Disconnect the negative side(-) cable from the battery
Step 2:
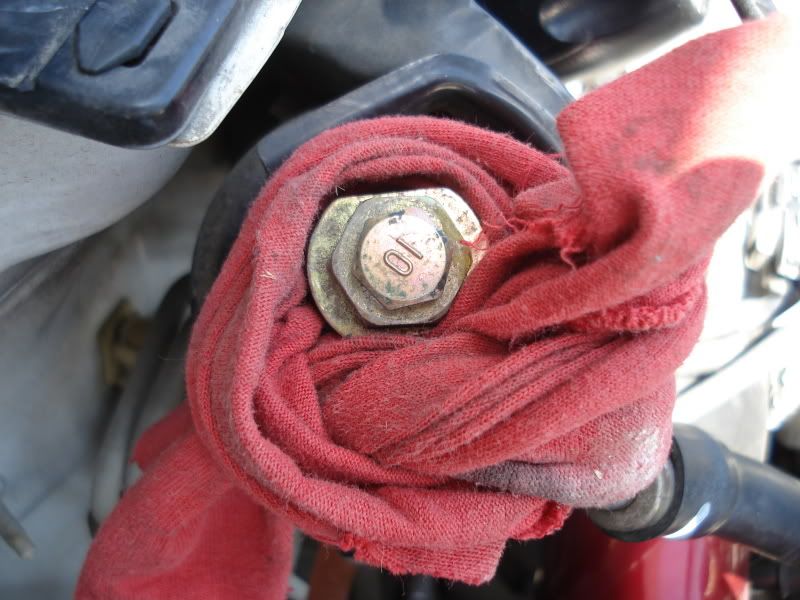
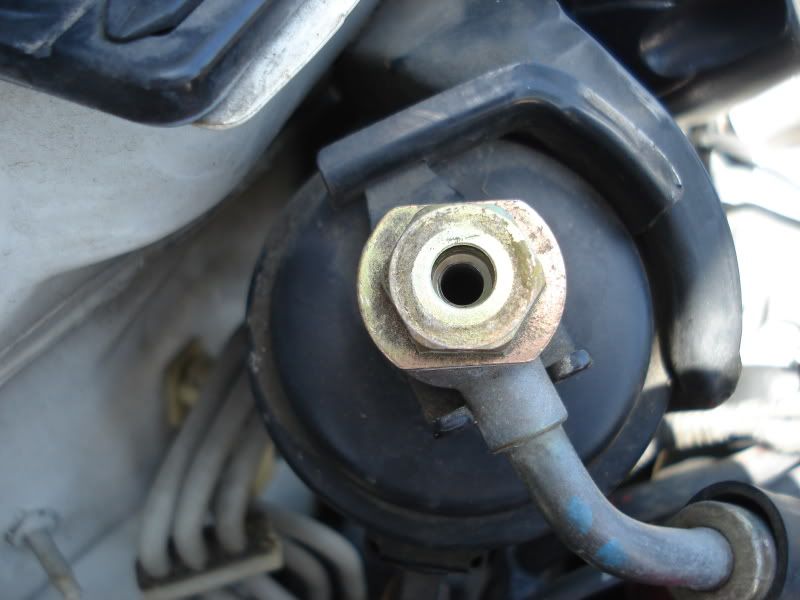
Wrap a rag around the 12mm pressure tap bolt and remove it. As you do, break it loose and then turn it out by hand. As you unscrew it, keep watch for any fuel that may be escaping. Mine did not have any gas come out but it could.


Step 3:
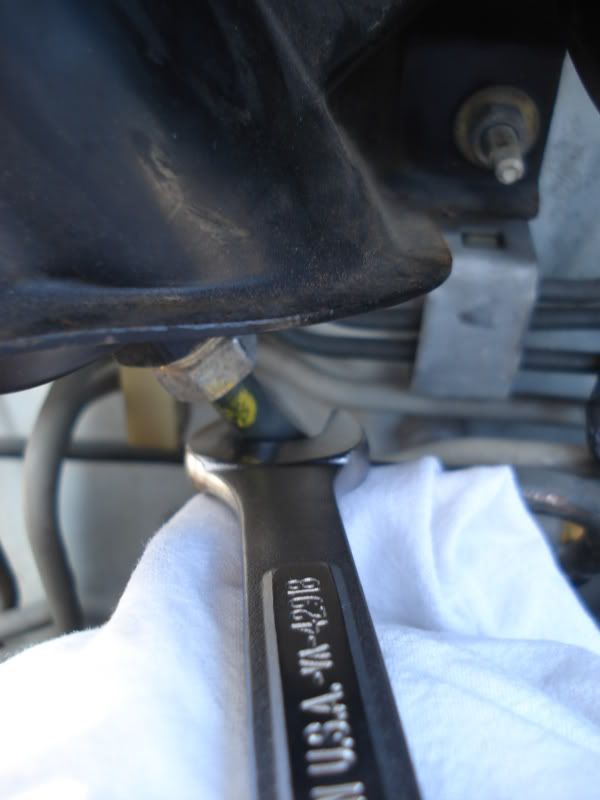
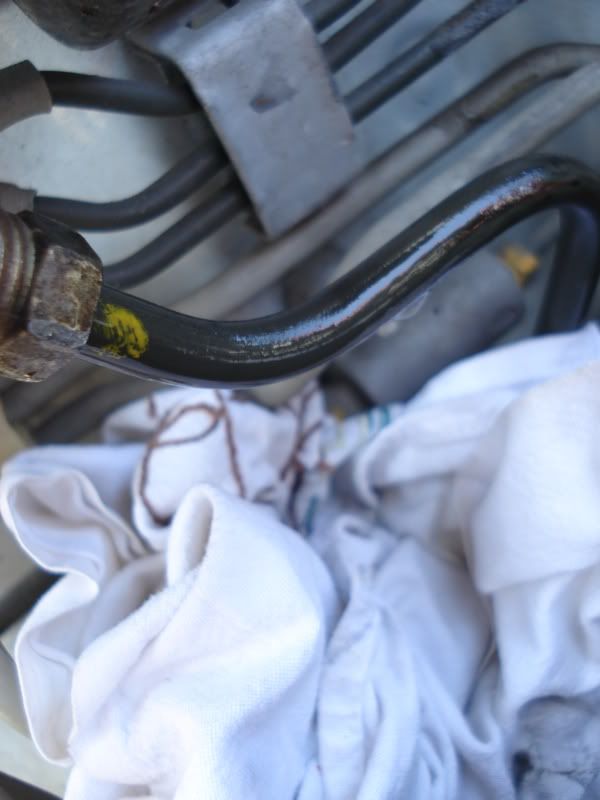
Now underneath the filter, there is a line fitting with a 14mm bolt head on it. This was VERY hard for me to remove as it had not been removed in a long time. Make sure to keep another wrench or ratchet on the top of the filter for better control and to not bend the cage the filter is secured in. When you unscrew this one, fuel will come out so have a rag underneath it.


Step 4:
Now remove the 17mm bolt on top. This one had fuel come out of it for me as well so have a rag ready and skewer it in like so.


Step 5:
Once you get both lines off, its time to remove the bracket from the car. There are three 10mm bolts that need to come out.

Step 6:
Once its off, there is one 10mm bolt on the inside of the bracket that holds the filter in place. Remove it and take the old filter out. Try to blow through it, be careful as there may be some gas inside the filter still. Compare it to the new one you just bought.

Step 7:
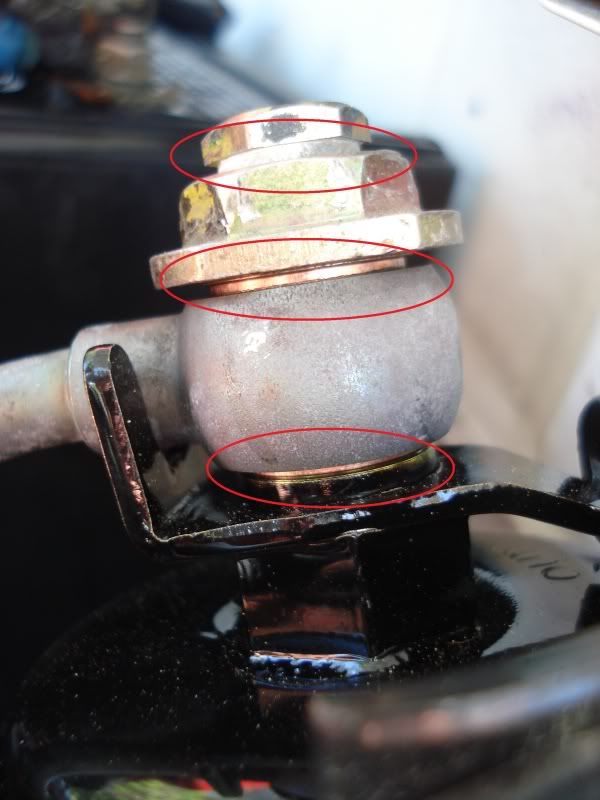
Make sure to replace these 3 washers. The top one that came with mine was not the right size and so I reused the old one, no leak.

Step 8:
Follow the steps in reverse for installation. There is only one way to put the filter on so make sure to do so correctly. There is a little flange that hooks into the bracket. The bottom line bolt was being bothersome as I was trying to have it catch the threads and screw back in, make sure to line up correctly. You will know this when it screws in most of the way by hand. DO NOT use a wrench until it is screwed in by hand or you could ruin the threads.
Once it’s all put back together, turn on the car and double check to make sure you are not leaking fuel anywhere. Now pat yourself on the back, your done! Good Job!
I don't get any money from this site but I would appreciate your donation! Donate
- Aaron
Tools Needed:
10mm, 12mm, 17mm Sockets
14mm Wrench
Rags
Step 1:
Disconnect the negative side(-) cable from the battery
Step 2:
Wrap a rag around the 12mm pressure tap bolt and remove it. As you do, break it loose and then turn it out by hand. As you unscrew it, keep watch for any fuel that may be escaping. Mine did not have any gas come out but it could.
Step 3:
Now underneath the filter, there is a line fitting with a 14mm bolt head on it. This was VERY hard for me to remove as it had not been removed in a long time. Make sure to keep another wrench or ratchet on the top of the filter for better control and to not bend the cage the filter is secured in. When you unscrew this one, fuel will come out so have a rag underneath it.
Step 4:
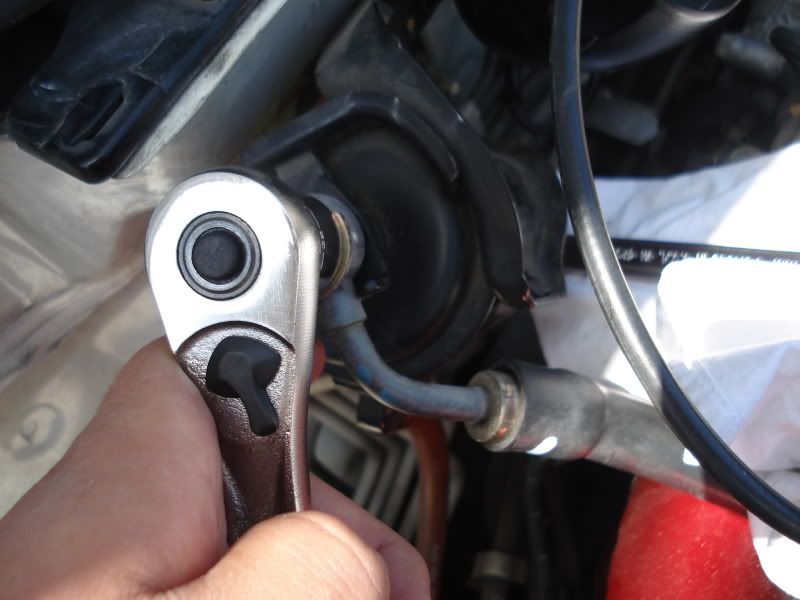
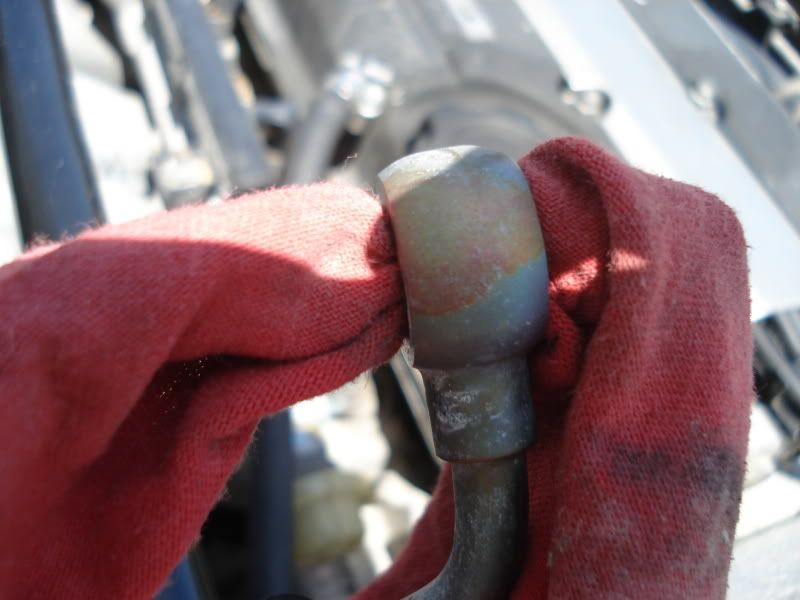
Now remove the 17mm bolt on top. This one had fuel come out of it for me as well so have a rag ready and skewer it in like so.
Step 5:
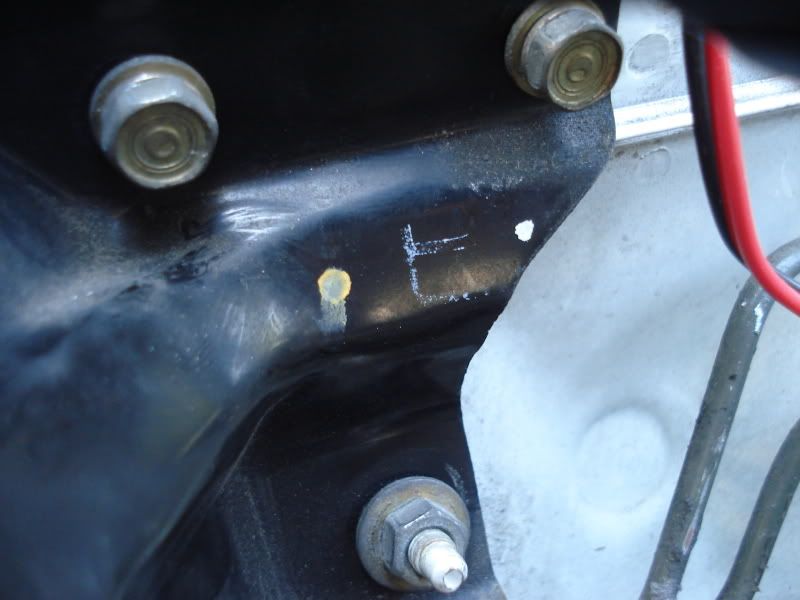
Once you get both lines off, its time to remove the bracket from the car. There are three 10mm bolts that need to come out.
Step 6:
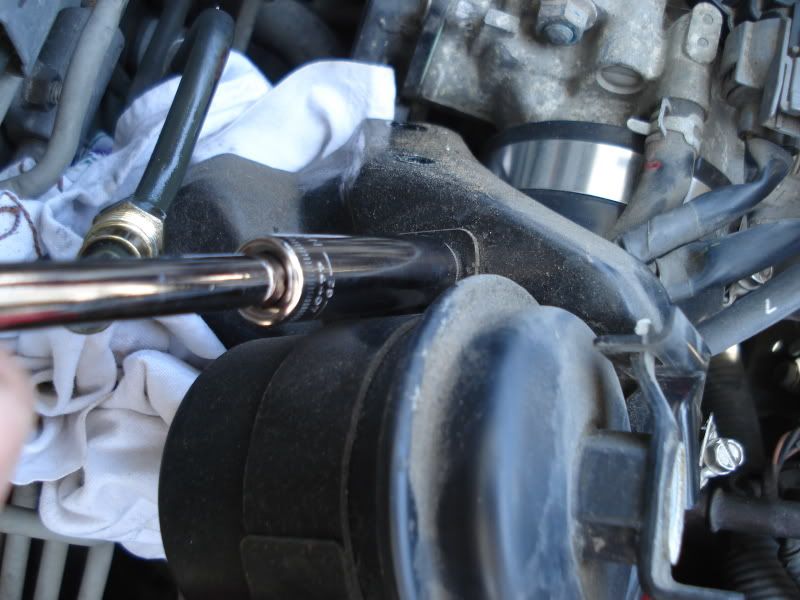
Once its off, there is one 10mm bolt on the inside of the bracket that holds the filter in place. Remove it and take the old filter out. Try to blow through it, be careful as there may be some gas inside the filter still. Compare it to the new one you just bought.
Step 7:
Make sure to replace these 3 washers. The top one that came with mine was not the right size and so I reused the old one, no leak.
Step 8:
Follow the steps in reverse for installation. There is only one way to put the filter on so make sure to do so correctly. There is a little flange that hooks into the bracket. The bottom line bolt was being bothersome as I was trying to have it catch the threads and screw back in, make sure to line up correctly. You will know this when it screws in most of the way by hand. DO NOT use a wrench until it is screwed in by hand or you could ruin the threads.
Once it’s all put back together, turn on the car and double check to make sure you are not leaking fuel anywhere. Now pat yourself on the back, your done! Good Job!
I don't get any money from this site but I would appreciate your donation! Donate
- Aaron
Last edited:


