BigMac88
Fat guy in a little 'teg
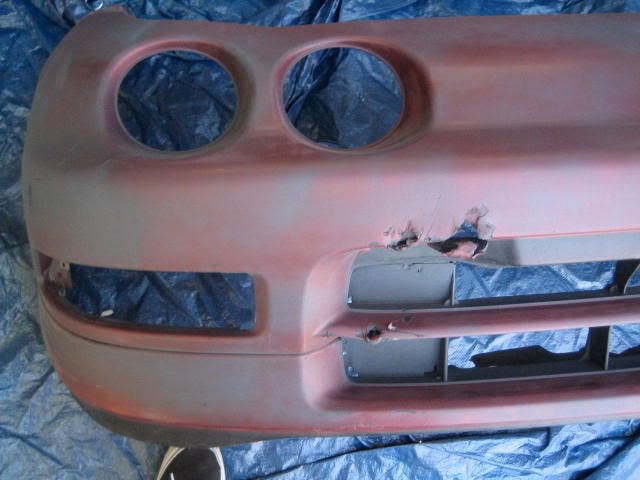
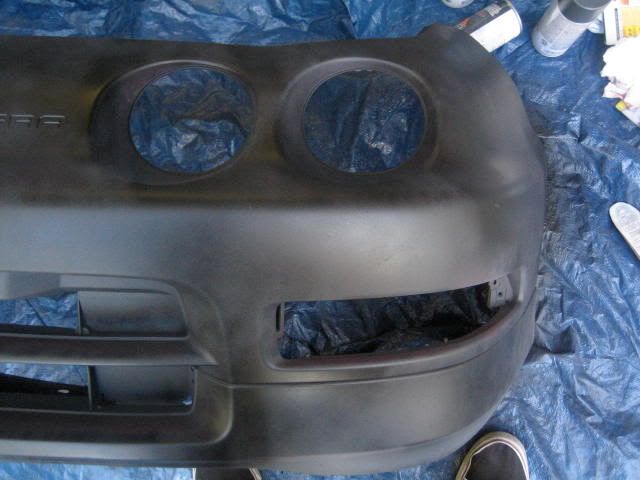
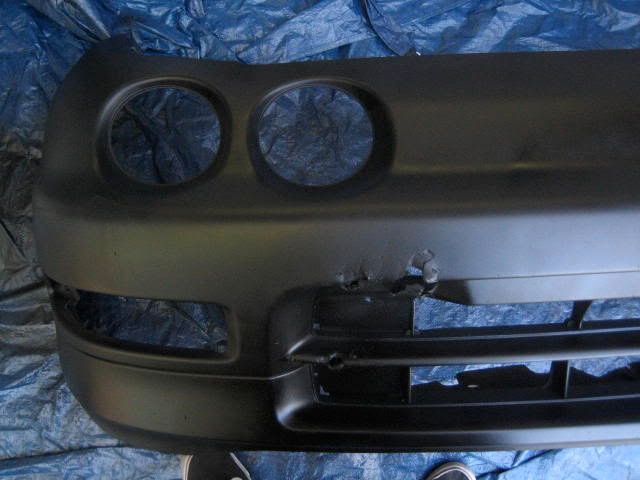
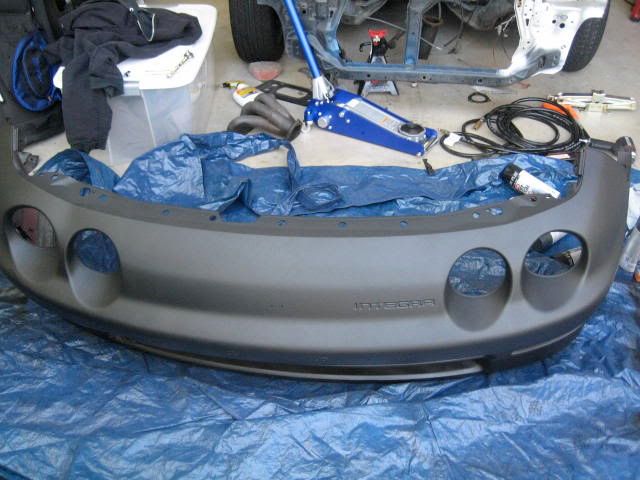
Well, I started painting my front end body panels today, so I thought I'd share the experience. This for all the DIY guys, broke track/touge guys, and cheap SOB's out there :lol:
This is not supposed to be a $1000+ paint job, just some tips/experience for the DIYers out there.
I only documented the painting of the front bumper, but the process is more-or-less the same for any part of the car.
Materials:
- Painting masks
- 1000 grit sand paper
- 1500 grit sand paper
- 4 cans of DupliColor primer (8-10 if you're doing the whole car)
- 4-6 cans of semi-flat paint; Krylon/DupliColor (10-12 cans if you're doing the whole car)
- Paper towls w/ water (or Acetone) to clean the panels
- A tarp or news paper to paint on
**Painters tape if you do the whole car**
BTW - I got everything at Pep Boys for $45 bucks. If you plan on doing the whole car, it's gonna run you ~$150


1). Start out by placing your tarp down in ventilated area AWAY from a lot of contaminants (don't paint in dusty/windy conditions). Make sure you have a level-ish surface. I painted half-way in/out of my garage on a nice calm, sunny day.

2). Get some paper towels and a bowl of water. Get a paper towel nice and damp, then clean the entire surface you will be painting on. THOROUGHLY. If you don't, old dirt will be stuck to the surface and will yield bad results.

3). Once it's nice and clean, bust out some of the 1000 grit and start sanding. Press firmly but not too hard, and sand in even circular patters so lines won't show through the paint. YOU DON'T WANT TO SAND THE PAINT OFF, ONLY SCUFF THE CLEAR COAT!!!


4). Once that's done, gently wipe away some of the clear coat power that's siting on the panel with a barely damp paper towel.
5). Repeat the same process (step 3) with the 1500 grit


This is not supposed to be a $1000+ paint job, just some tips/experience for the DIYers out there.
I only documented the painting of the front bumper, but the process is more-or-less the same for any part of the car.
Materials:
- Painting masks
- 1000 grit sand paper
- 1500 grit sand paper
- 4 cans of DupliColor primer (8-10 if you're doing the whole car)
- 4-6 cans of semi-flat paint; Krylon/DupliColor (10-12 cans if you're doing the whole car)
- Paper towls w/ water (or Acetone) to clean the panels
- A tarp or news paper to paint on
**Painters tape if you do the whole car**
BTW - I got everything at Pep Boys for $45 bucks. If you plan on doing the whole car, it's gonna run you ~$150
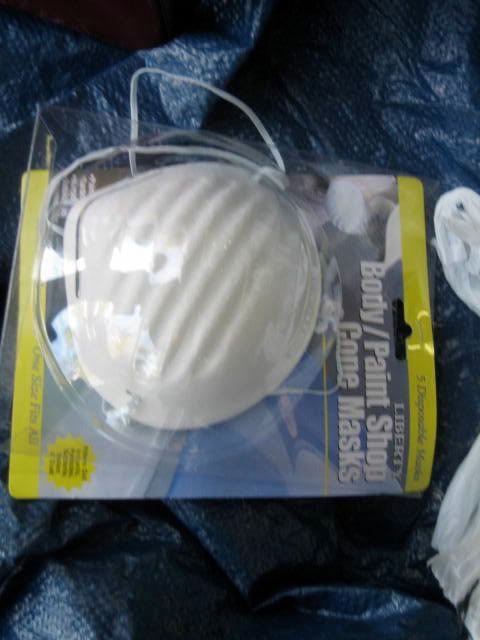


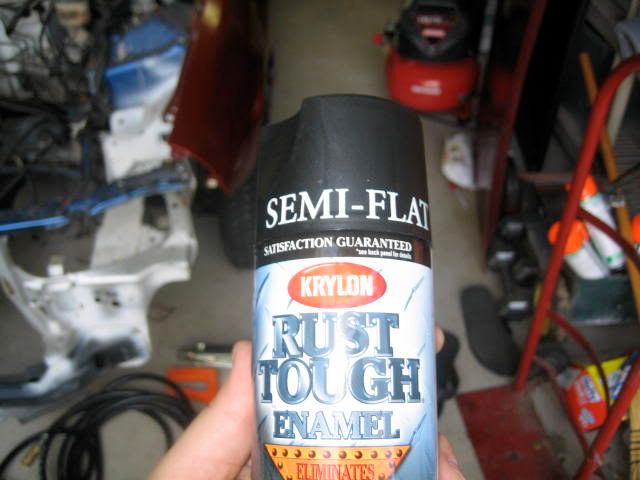
1). Start out by placing your tarp down in ventilated area AWAY from a lot of contaminants (don't paint in dusty/windy conditions). Make sure you have a level-ish surface. I painted half-way in/out of my garage on a nice calm, sunny day.
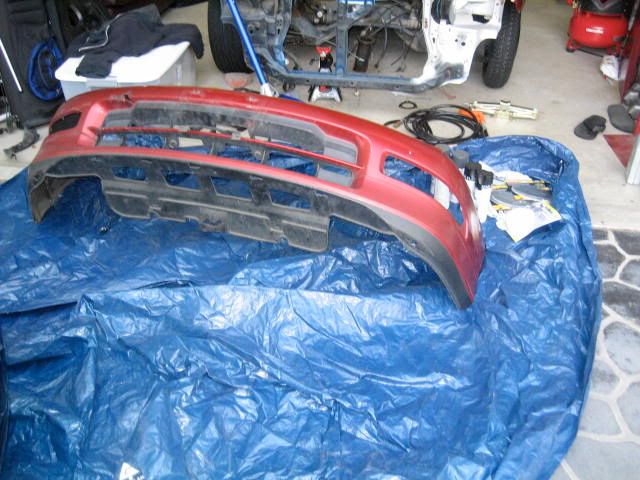
2). Get some paper towels and a bowl of water. Get a paper towel nice and damp, then clean the entire surface you will be painting on. THOROUGHLY. If you don't, old dirt will be stuck to the surface and will yield bad results.

3). Once it's nice and clean, bust out some of the 1000 grit and start sanding. Press firmly but not too hard, and sand in even circular patters so lines won't show through the paint. YOU DON'T WANT TO SAND THE PAINT OFF, ONLY SCUFF THE CLEAR COAT!!!

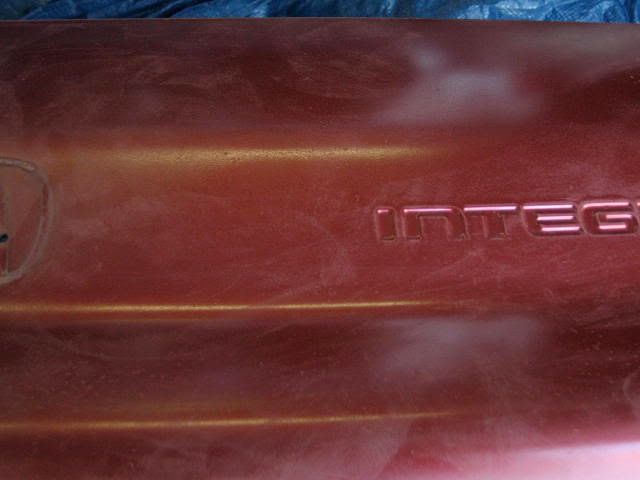
4). Once that's done, gently wipe away some of the clear coat power that's siting on the panel with a barely damp paper towel.
5). Repeat the same process (step 3) with the 1500 grit


Last edited:


