Tree's...Roadster?

treeafodo

Austin
I've been so busy lately I haven't had time to update anything. Barely have enough time to sleep anymore. Working full time, school full time, side jobs, studying, working on presentations and hanging out with friends finds a way to suck all your time away.This week and next week are exam weeks. So I need to get this done by then. In a week and a half I will be graduating.

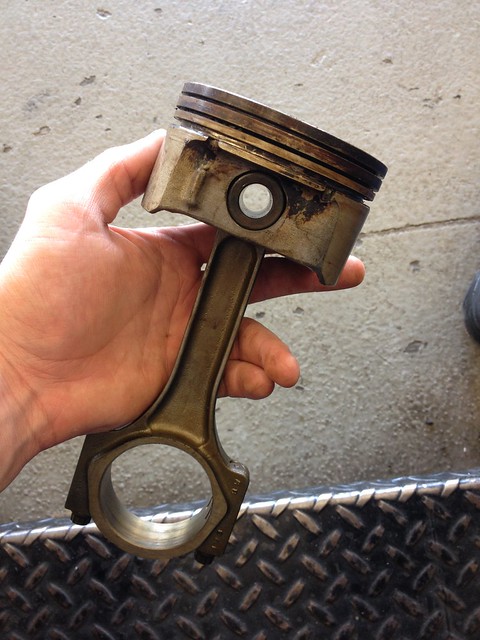
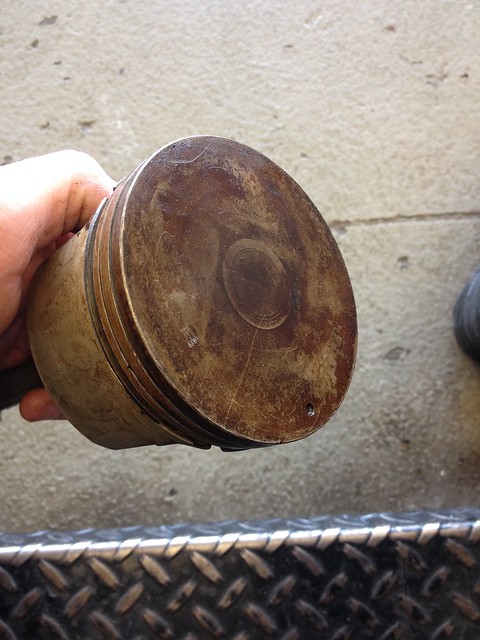
To help speed the process up and not waste lab time at school I brought the pistons home to clean.
Dirty Piston/Rods by Austin Rajki, on Flickr
Dirty Pistons/Rods by Austin Rajki, on Flickr
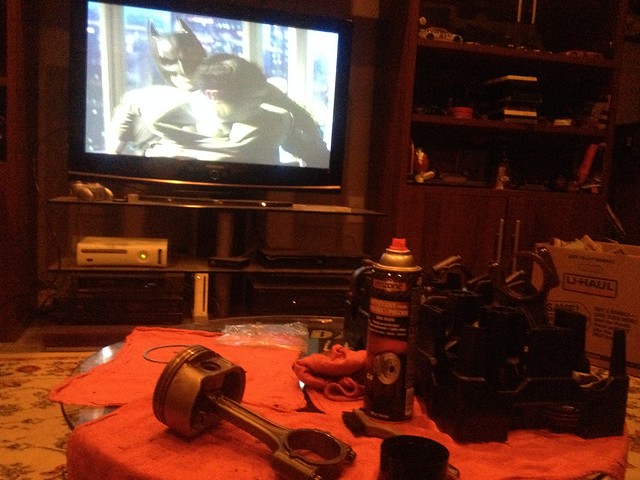
A friend wanted to watch Batman so we watched that while I cleaned them up.
Cleaning Pistons by Austin Rajki, on Flickr

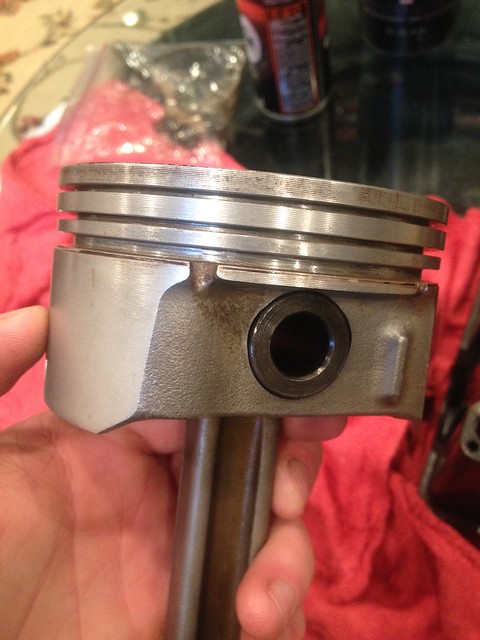
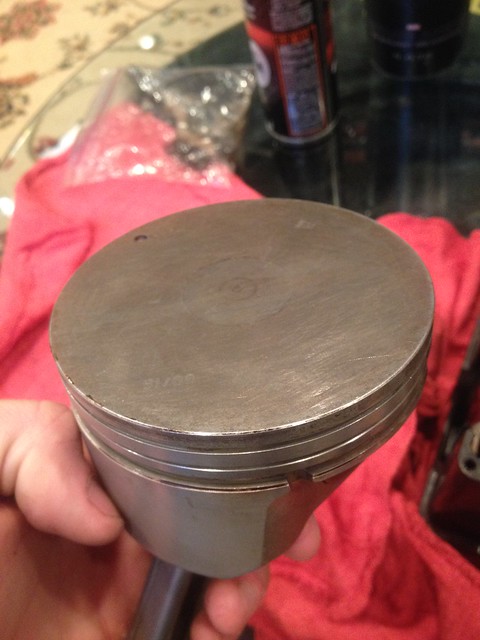
Several hours later I had them all pretty clean.
Clean Pistons by Austin Rajki, on Flickr

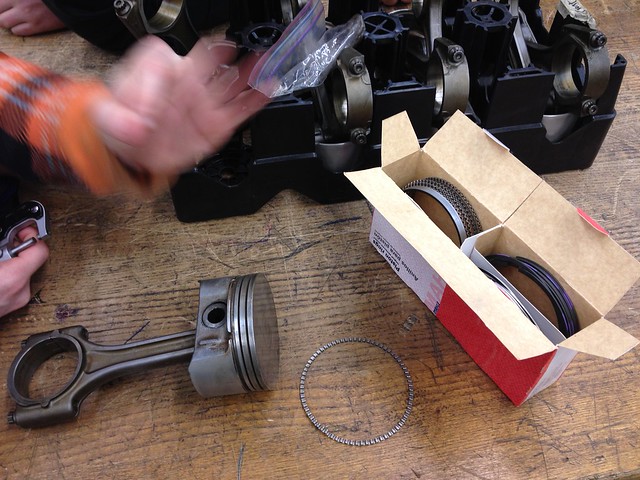
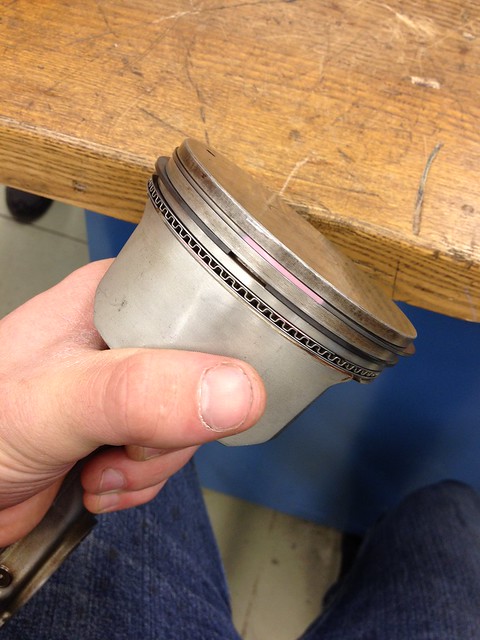
Brought them back to school today to install the piston rings. Everything is gapped correctly.
Installing Piston Rings by Austin Rajki, on Flickr
Rings Installed by Austin Rajki, on Flickr

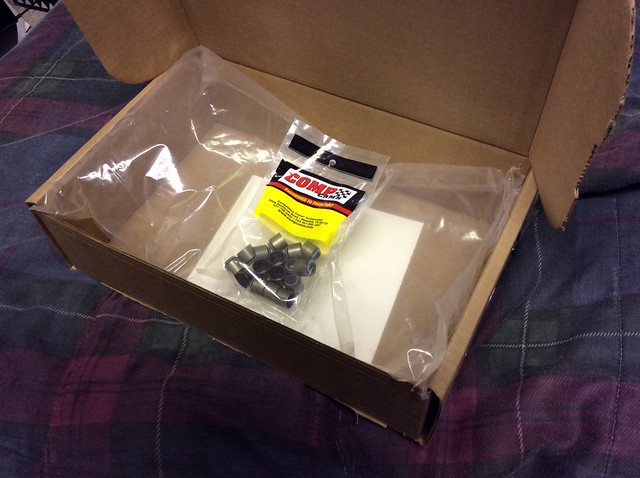
Then I had a box show up in Detroit. On Friday I went to install the valve stem seals and springs. One of the seals ripped going on. I wasn't able to find the PRC ones I had for sale. Ended up ordering a set of Comp Cams ones from Summit and paid extra for next day shipping. I got a large box from Summit with the smallest contents.
New Box by Austin Rajki, on Flickr
Smallest Contents Ever by Austin Rajki, on Flickr

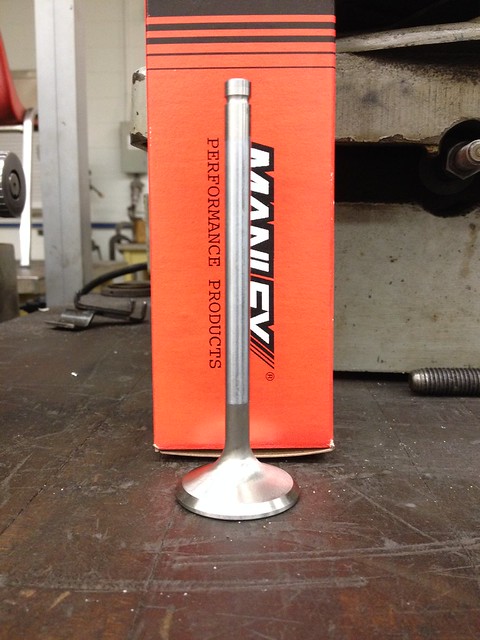
My teacher also brought my new valve in! I ground that valve and lapped the last few valves that needed lapping
New Exhaust Valve by Austin Rajki, on Flickr

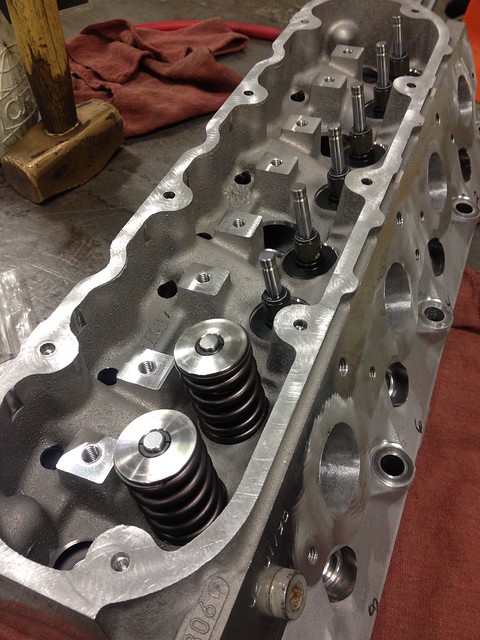
Then I installed the spring seats, valve stem seals and started to install the springs.
Valve Springs Going In by Austin Rajki, on Flickr

One head is done. The other one just needs springs installed.
One Head Finished by Austin Rajki, on Flickr

While I was doing all the work today they had a Pontiac Firehawk in the other room doing a tune session. I got to listen to the glorious sound of an LS1 all day. It got me so excited for mine!
https://www.youtube.com/watch?v=-7SWlCNKqrI
 
Last edited:

R13

The other asshole
There's something about the 4th gen fbody that always reminds me of cheap strippers.

Lol at the valve seals.
 

treeafodo

Austin
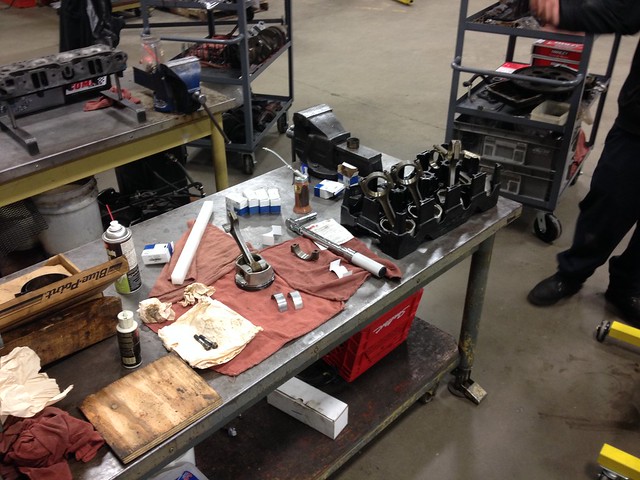
Got more work done before class this morning. On top of finishing the other head, I set up "shop" lubing the piston rings, pistons and bores. Also cleaned all the journals again, installed bearings and lubed them up with assembly lube.
Workspace by Austin Rajki, on Flickr

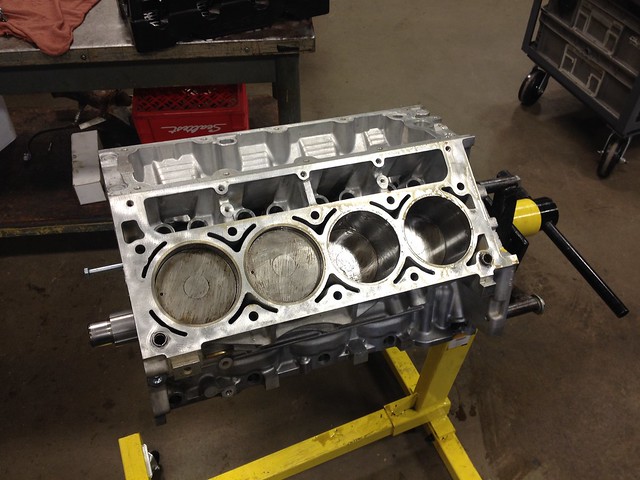
A little while later all 8 pistons were in and I was able to go to class. Clearances are all spot on :D
Piston and Rods Installed by Austin Rajki, on Flickr
Pistons Installed by Austin Rajki, on Flickr

This thing is starting to resemble an engine now. :)
 

treeafodo

Austin
Went in to school today for a big haul to get this thing done.
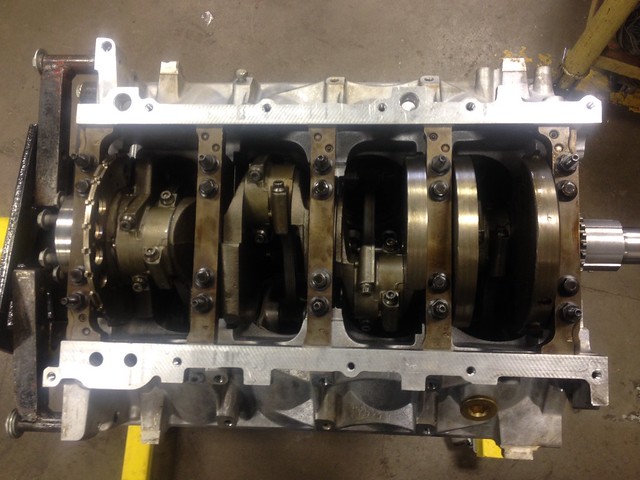
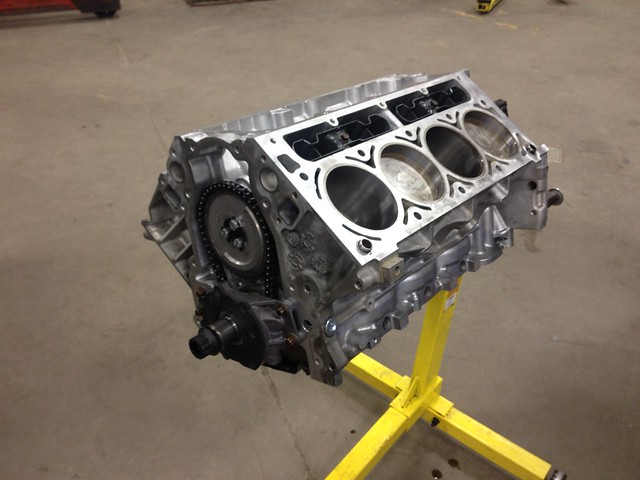
Timing is set, oil pump is installed and the windage tray is torqued in place.
Timing set and Oil Pump Installed by Austin Rajki, on Flickr
Windage Tray by Austin Rajki, on Flickr
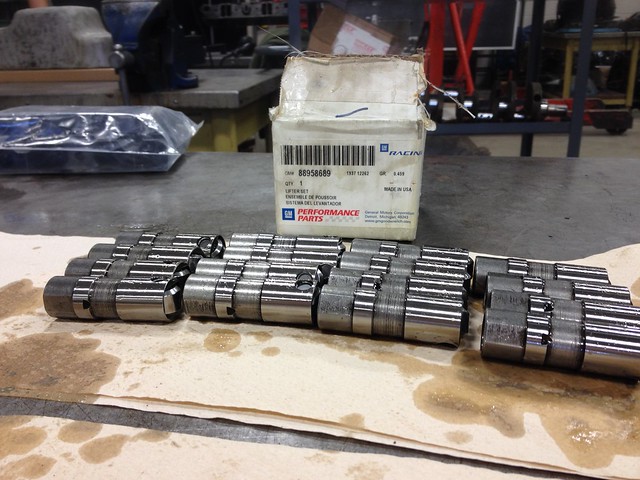
Got the lifters all primed and ready for install.
Lifters Primed by Austin Rajki, on Flickr

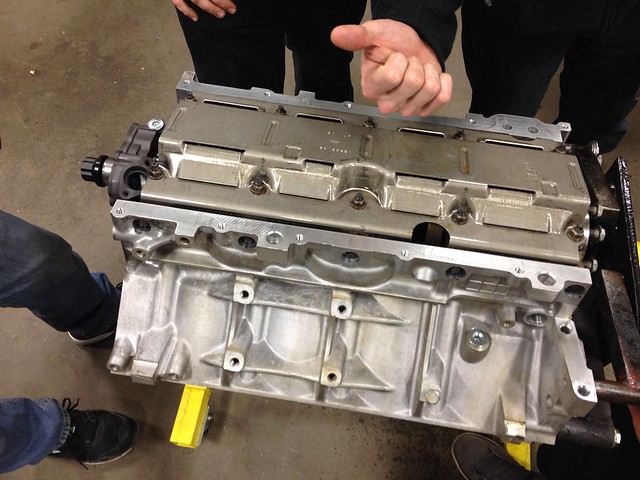
The new lifter trays are in and torqued to spec
Complete Short Block by Austin Rajki, on Flickr

I also installed the final core plug as well as the little oil restrictor.

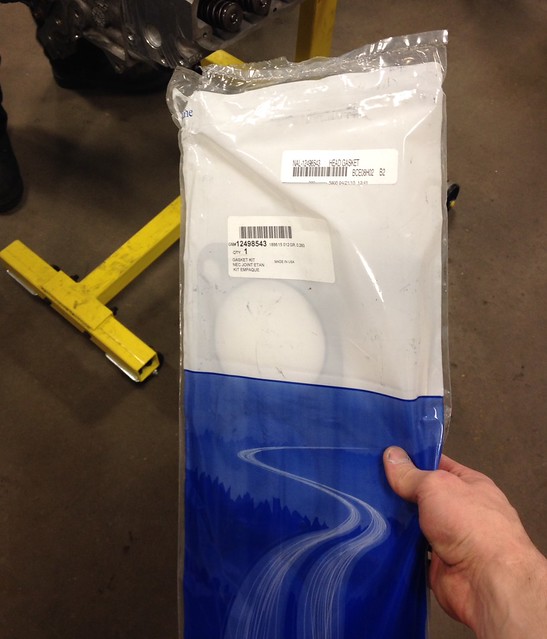
Then I cleaned the heads and deck as well as getting the ARP head bolts all lubed up and ready for install. Open up the headgaskets to find out they sent me the wrong ones. The ones they sent me won't work on my head castings...
Went on Summit racing to order a new set. $100 later they SHOULD be here tomorrow...


treeafodo

Austin
Well, as of Friday I am officially a college graduate! :D The hunt for a career starts tomorrow.

I was really busy over the weekend, so this update is a bit delayed. It all happened on friday.

Huge shout out to Summit Racing for their fast shipping. I got the proper head gaskets in in time and was able to install the heads.
Proper Headgaskets by Austin Rajki, on Flickr

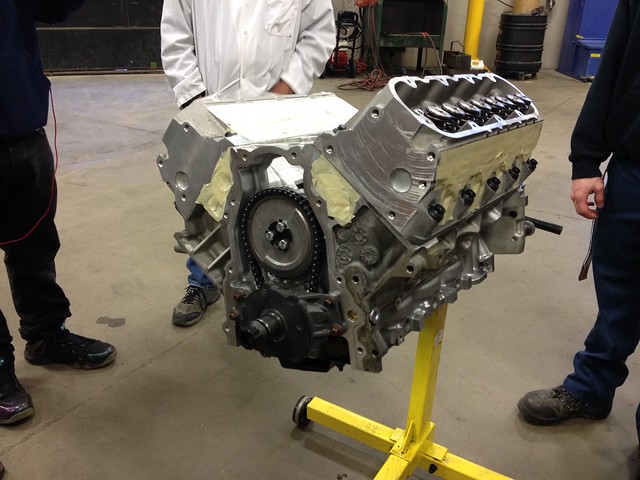
Longblock
Longblock by Austin Rajki, on Flickr

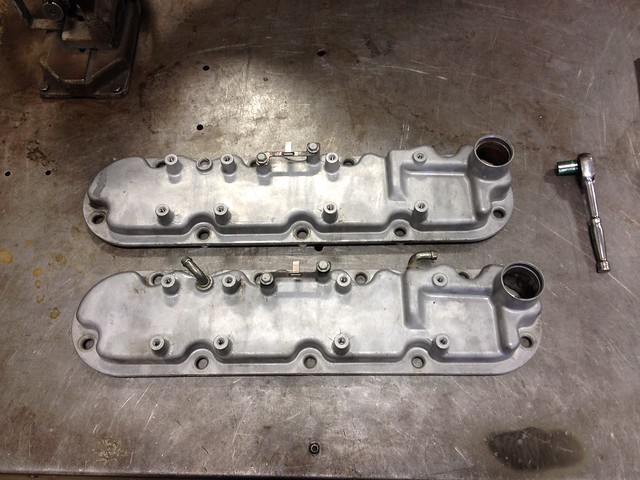
Cleaned the valve covers and sent them out with my friend to be powder coated gloss black. These perimeter valve covers are pretty darn ugly. lol If I ever decide to go aftermarket CNC heads they will be gone.
Unpainted Valve Covers by Austin Rajki, on Flickr

Since this was my last day at school I had to bring everything home. Loaded up the Integra again.
Work Horse Integra by Austin Rajki, on Flickr

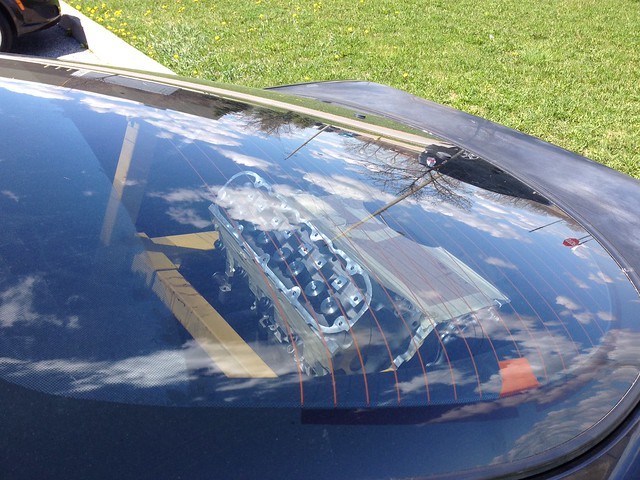
Twin engine, AWD integra.
Mid Engined Integra by Austin Rajki, on Flickr

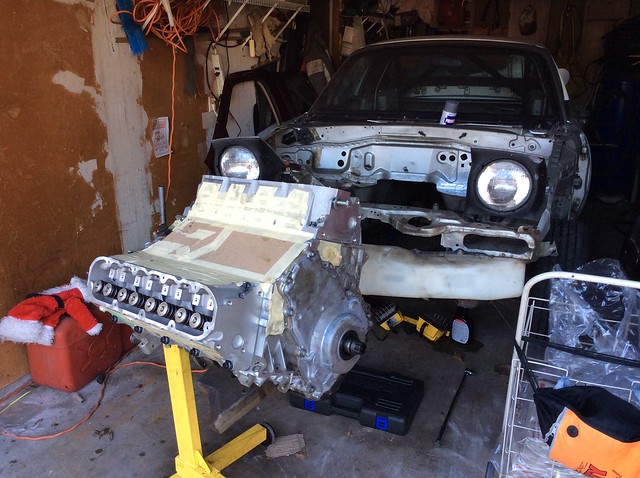
And here is the moment I've been waiting for for a long time. They finally meet!
They Meet! by Austin Rajki, on Flickr

Writing this down for my own reference.
Still to do:
Order .060" rocker shims
order knock sensor gaskets to be able to install valley cover.


Sent from my iPhone using Tapatalk
 

Aussie

Zoom-Zoom
Man so awesome, congrats on graduating! I bet your instructor want's to see that thing running too.
 

endo617

Rattle Can Technician
This is awesome, you worked fast.


treeafodo

Austin
Man so awesome, congrats on graduating! I bet your instructor want's to see that thing running too.
Thank you! He asked me to bring it in once it's done and we'll dyno the car at school.


This is awesome, you worked fast.
The last 3 months was a race against the clock, but somehow it all came together on time.

Poor dirty integra :cry:
I know. :( Haven't washed the poor car since September. I went to wash it today, but the hose is MIA.


Sent from my iPad using Tapatalk
 

treeafodo

Austin
I swear I'm still working on this car. I've spent quite a bit of time cleaning the under carriage. Not a whole lot has been going on other than the fact that I picked up a sponsor for the draintrain build. A2BMotorsports will be giving me some hefty discounts towards parts for the engine :)

I ordered a set of OEM knock sensor grommets so I can install the valley cover. I haven't been ordering much since I'm saving for a nice tube bender to get started on the cage.

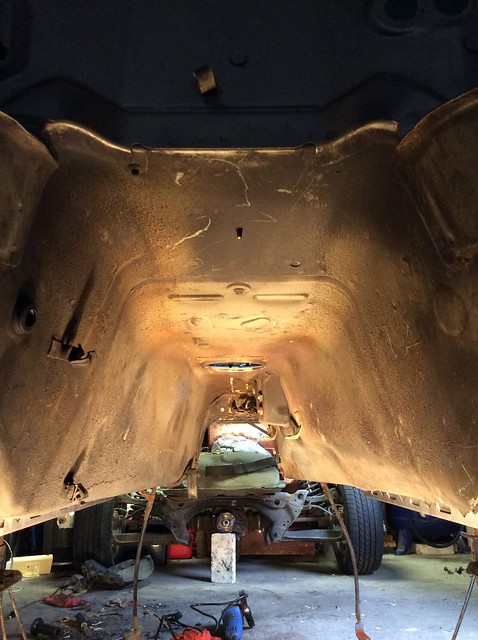
This was the trans tunnel before.
Dirty Trans Tunnel by Austin Rajki, on Flickr

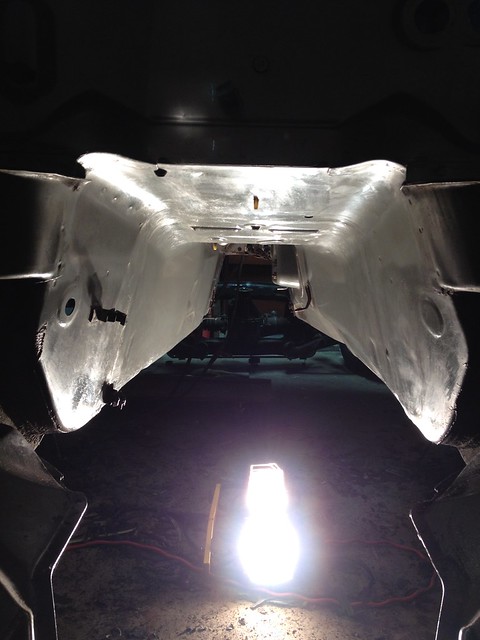
And now.
Clean Transmission Tunnel by Austin Rajki, on Flickr

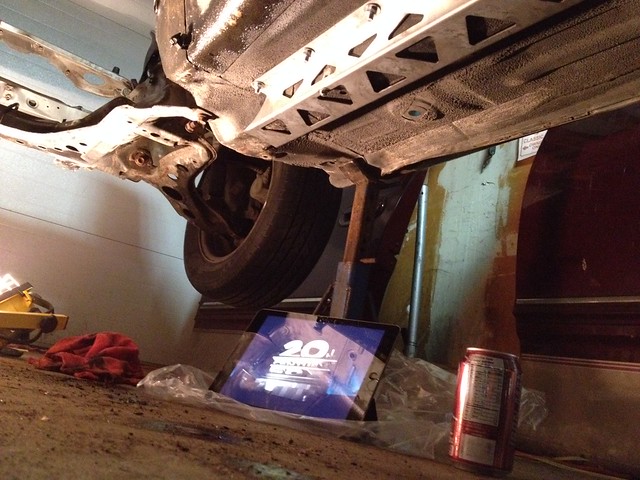
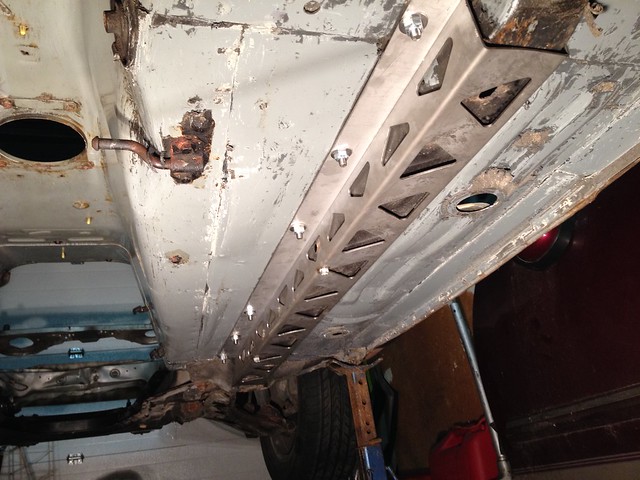
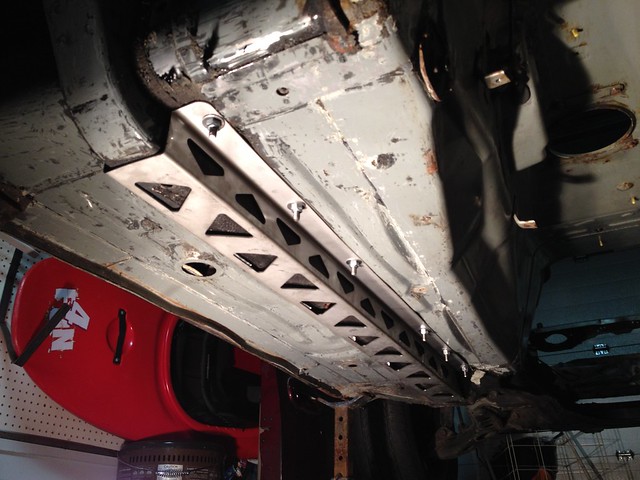
I've also been spending A LOT of time removing all the undercoating. Progress has been slow as there's only so many hours I can spend on a creeper with my hands above my head. It's not easy to remove by any means.

This is an old picture I posted earlier, but it shows all the undercoating before.
Movie Night with Bae by Austin Rajki, on Flickr

And this is what I'm at right now.
Undercoating Being Removed by Austin Rajki, on Flickr

There is very little rust so far. Most of the brown spots you see is grim build up and/or undercoating that is still there.
 

R13

The other asshole
Good work! I had to do a lot of undercoat removal on my firebird and it was a bitch.

Are you gonna remove the braces and clean under them?
 

treeafodo

Austin
It is the worst.

Once I'm done all this I will take the frame rail braces off and clean under them. Removing them is a 2 person job.
 

treeafodo

Austin
On top of the knock sensor grommets that I ordered I also did a lot of research regarding the PCV systems on these engines. The early LS1s had valve cover based PCV systems that have a bad reputation for oiling the intake manifold and heads. The system was changed to one which was based inside the valley for the later LS engines. I made the decision to change my engine over to the LS6 style PCV.

I ordered:
Ford rocker shim kit
LS6 valley cover with built in PCV components
GM coolant crossover gaskets
Low profile, button head bolts for the valley cover to clear intake manifold.

Last I heard from my friend they haven't started powder coating my valve covers yet so I requested them back so I can modify them to do the PCV delete to them.


Sent from my iPad using Tapatalk
 

treeafodo

Austin
My friend and I went to Detroit yesterday, between the 2 of us we had a full truck bed of parts.

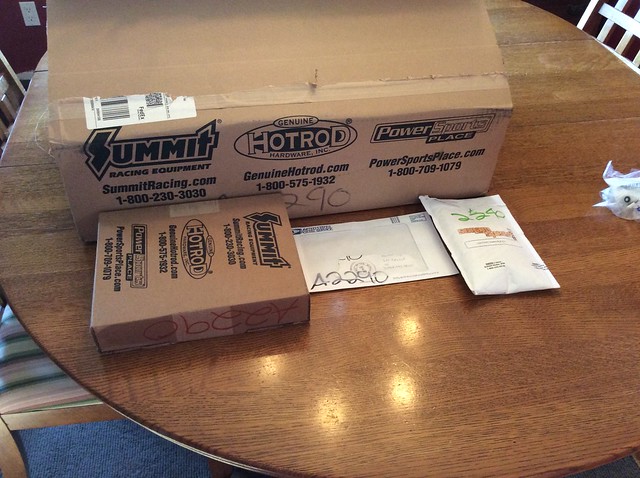
I got a few boxes and envelopes.
More Parts by Austin Rajki, on Flickr

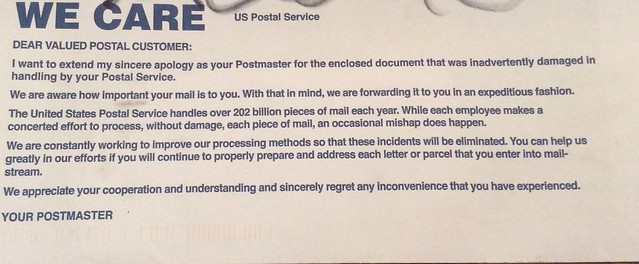
The envelope in the middle was a USPS envelope that contained just the address of my knock sensor grommets. This is what it said.
Thanks USPS... by Austin Rajki, on Flickr

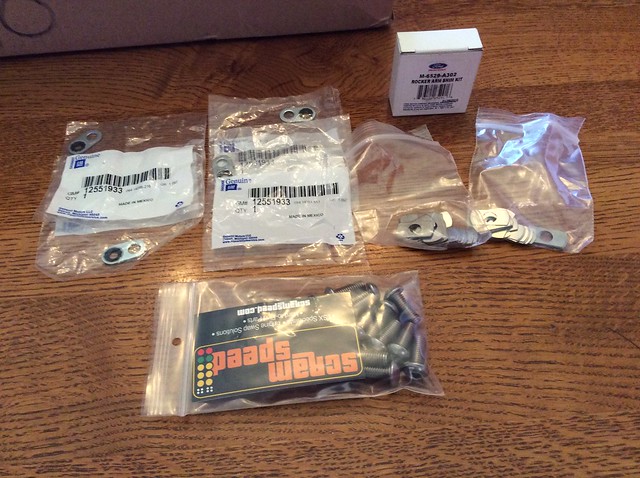
Button Head bolts, coolant crossover gaskets and rocker shims
New Parts by Austin Rajki, on Flickr

I was really looking forward to installing the new valley cover, but the knock sensor grommets getting lost was a bit disappointing.
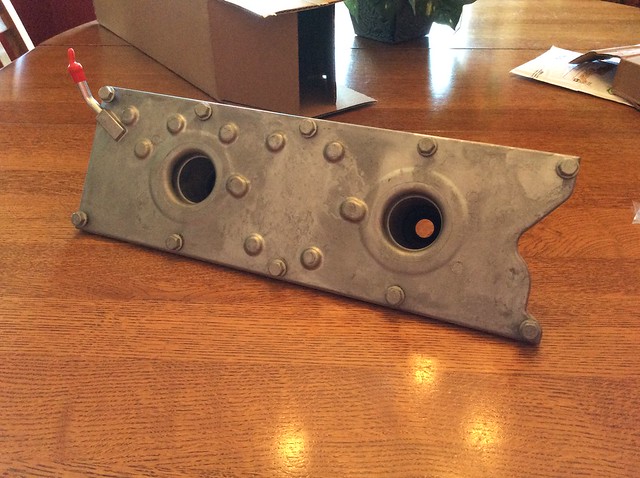
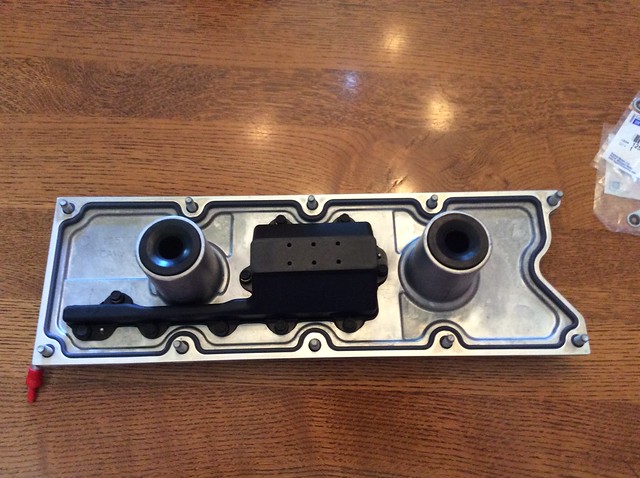
My friend was curious to see what the new valley cover looks like so I opened it up. Much to my surprise it came with new gaskets!!! :D
LS6 Valley Cover by Austin Rajki, on Flickr
Here you can see the air/oil separator built into it. My old valley cover was just a plain, flat piece.
LS6 Valley Cover by Austin Rajki, on Flickr

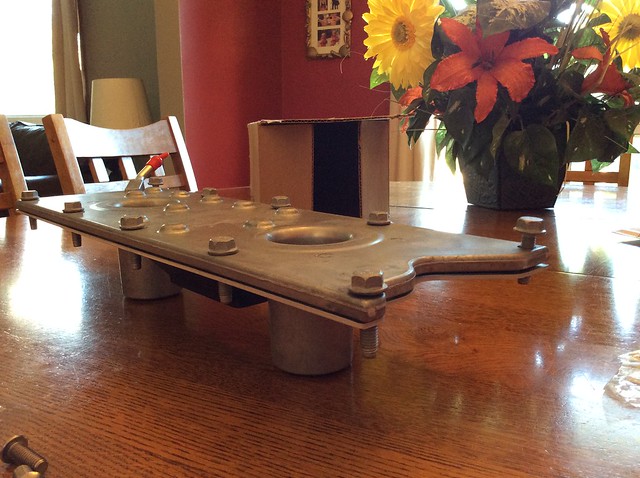
The OEM bolts are way too tall to clear the intake I'm purchasing, so here is a comparison of OEM vs the aftermarket stainless button head bolts.
OEM Bolts by Austin Rajki, on Flickr
Low Profile Button Head Bolts by Austin Rajki, on Flickr


So after work today I decided it was time to install these. First up was to mock the rockers up with the .060" shims.
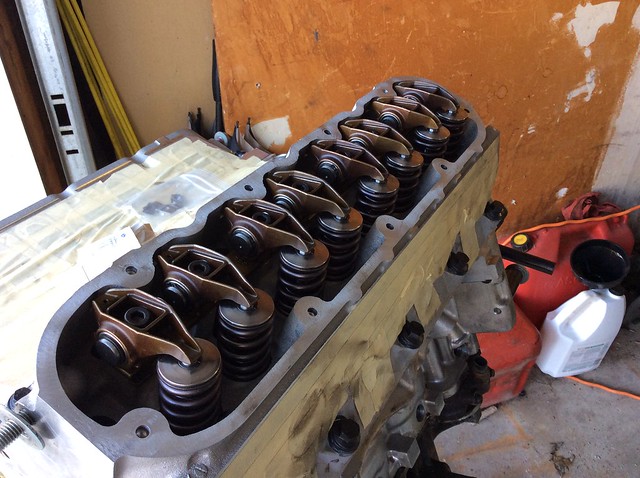
Rockers Mocked up by Austin Rajki, on Flickr
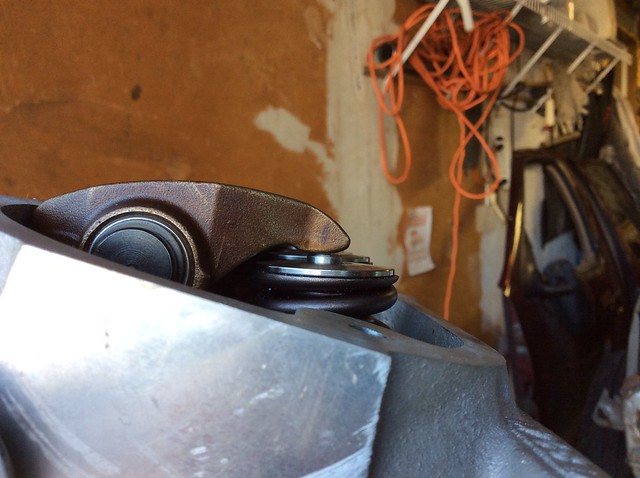
Perfect.
Shimmed Rockers by Austin Rajki, on Flickr


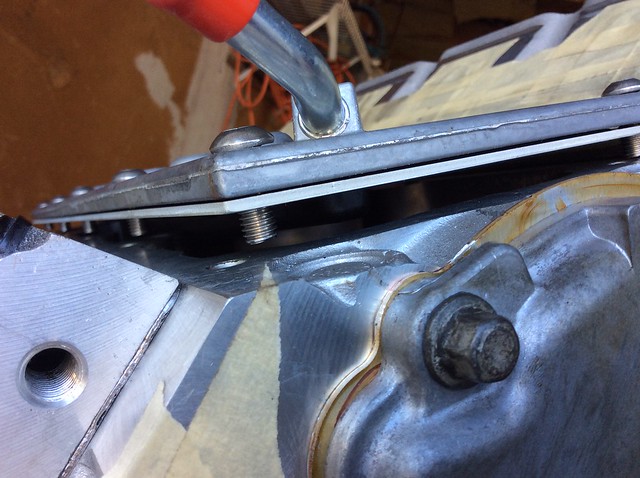
This is how the LS6 valley cover sits on the LS1 block
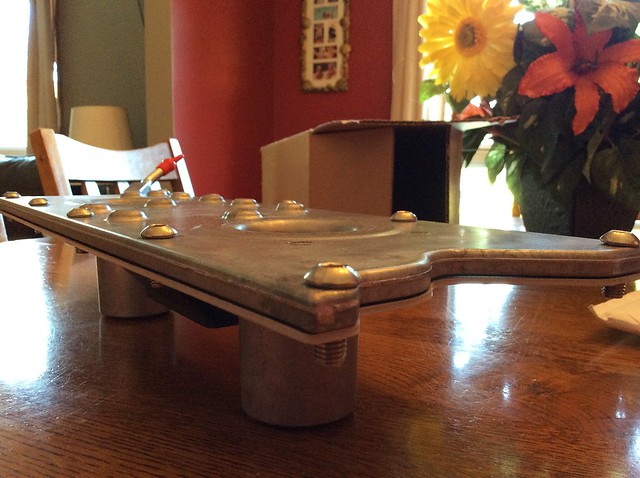
Block Needs to be Notched by Austin Rajki, on Flickr

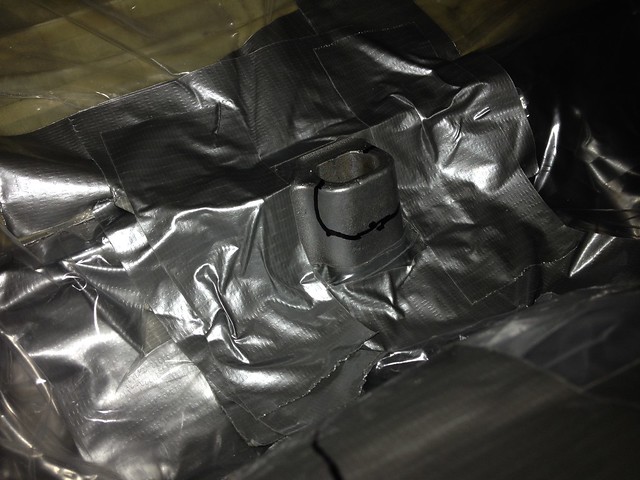
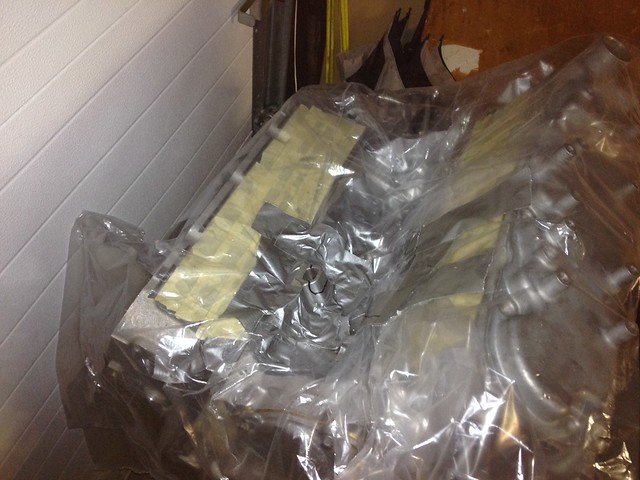
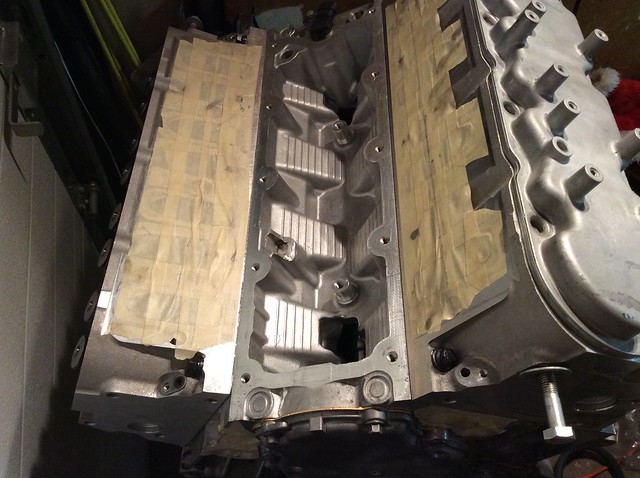
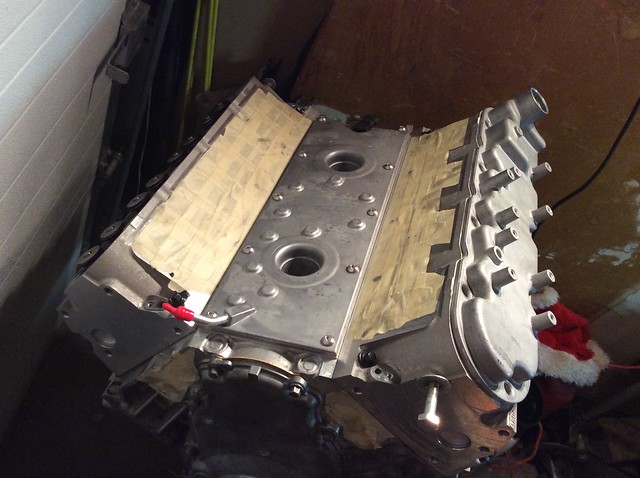
The block needs to be notched for it to fit correctly, so I spent a long time and masked the block off. I made sure that there would be no possible way to have any metal shavings go anywhere near the engine.
Engine Masked Off by Austin Rajki, on Flickr

After notching the block I filed and sanded it smooth, vacuumed up the metal shavings and then removed the masking.
Blocked Notched by Austin Rajki, on Flickr


Now it fits perfectly.
[url=https://flic.kr/p/tsYJV6]
LS6 Valley Cover Installed by Austin Rajki, on Flickr
Notched Block by Austin Rajki, on Flickr


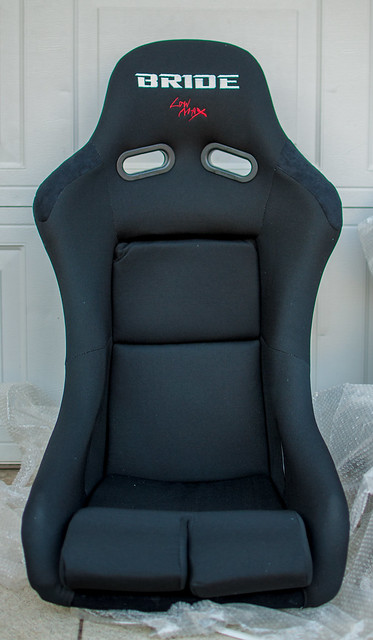
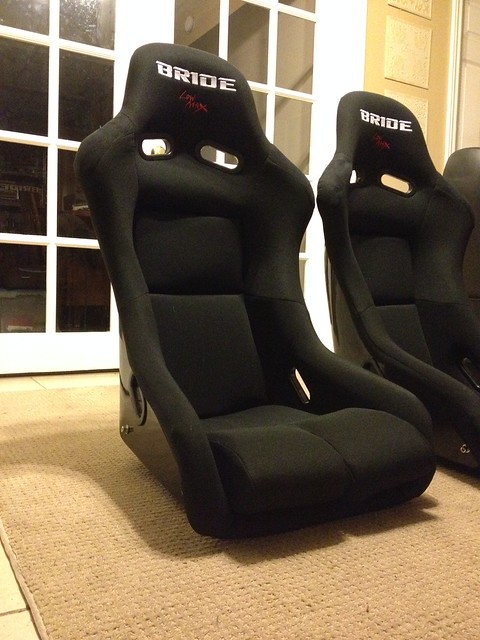
I also ordered a pair of Bride Vios 3 replicas. Yes, replicas... Hear me out though. I'm not one for replica anything. The reason I bought them is to:
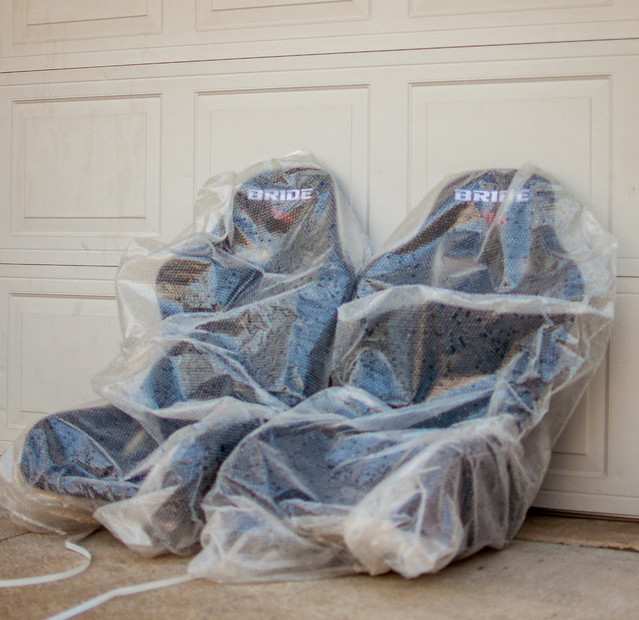
1) mount them and be able to build the cage the way I want and know for sure it'll clear for sure. This way I won't get my real one dirty
2) I won't be tracking with a passenger, so I will have a replica on the passenger side, and a real one on the driver side. I'm not spending over $1,000 canadian on a passenger seat- knowing my best friend it would get destroyed. Matching seats for less money this way.
3) The driver side seat will be used as a computer chair after the legit one is purchased :)
 

treeafodo

Austin
Well, I have good news! I got a new job! This one is at a local shop which has won several awards for quality and awards as the best shop in the county. They build and maintain cop cars, ambulances, postal service vehicles, they offer fabrication as well as general maintenance and repairs. I start June 15th and I will be working Monday-Friday, 46.5 hours a week. Benefits are included. I believe this is a great chance for me to get a career going in the path I want. Hopefully everything works out there. I will be keeping my current job as well, so this build should pick up its pace a little bit.

The car is also going out to have the roll cage and tube front done shortly. I was wanting to do it myself, but I'm too much of a perfectionist to deal with any imperfections a first time cage builder will make. It'll go out to Glease Manufacturing to get this done.

After work today I went to pickup my seats.While crossing the border there was this lovely paint scheme next to me. It gave me a great idea for my Miata.
Paint Ideas by Austin Rajki, on Flickr

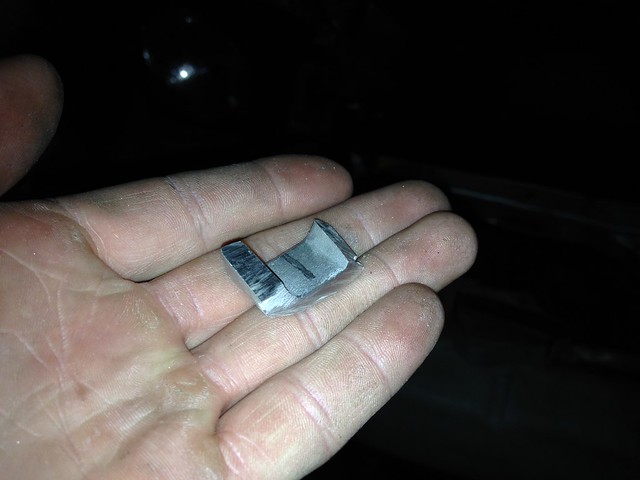
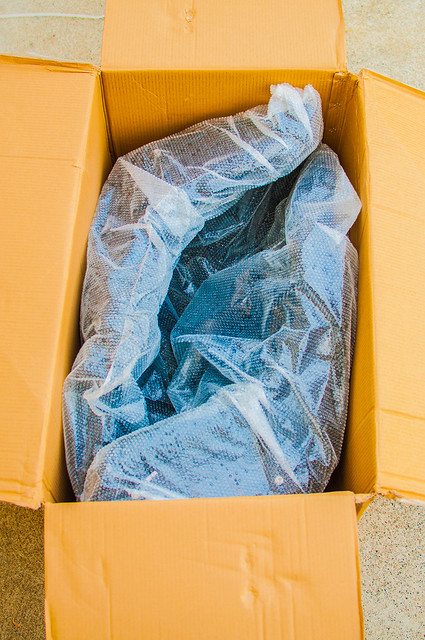
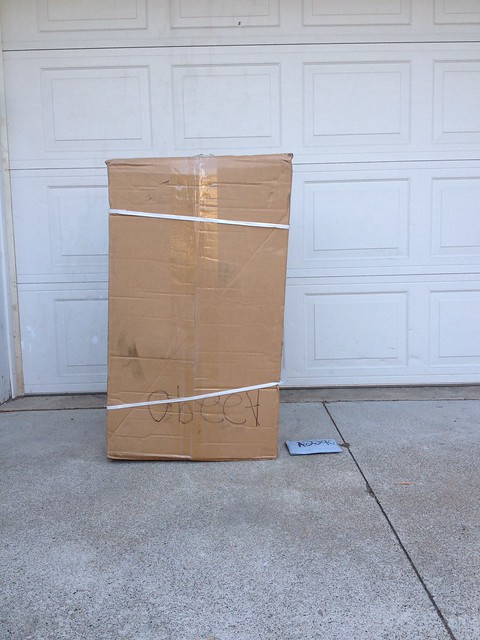
2 packages. One big, one little. The little one contains the knock sensor grommets, which got damaged, that I ordered a while ago.
Big Box and Little Box by Austin Rajki, on Flickr

Seats by Austin Rajki, on Flickr
Bubble Wrap by Austin Rajki, on Flickr
Bride Vios 3 by Austin Rajki, on Flickr

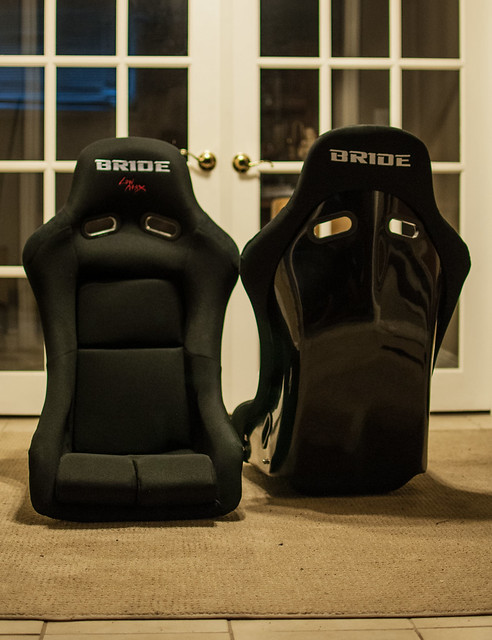
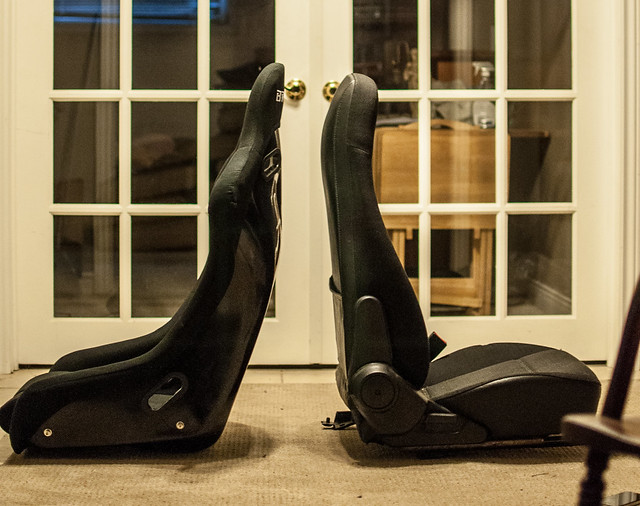
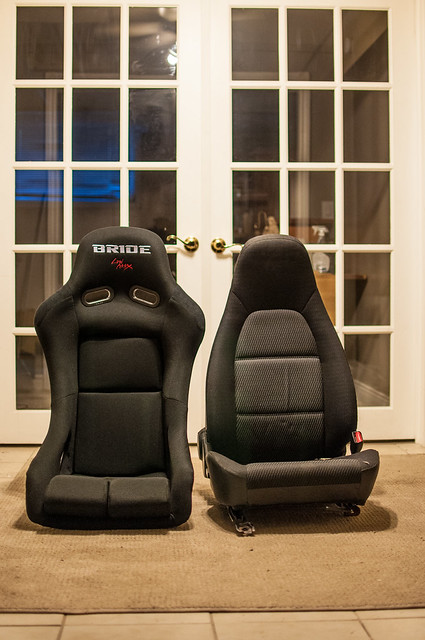
OEM NB1 seat compared to the Bride Seat
Nb1 Seat plus Bride Vios 3 by Austin Rajki, on Flickr
NB1 Seat plus Bride Vios 3 by Austin Rajki, on Flickr

Overall, I can't complain about the quality of these seats for the money. They're sturdy and look amazing. I did straighten up the cushions and they look a lot tidier now. They are SUPER comfortable and fit me very nicely. I have a 30" waist. Any bigger and these seats would be too tight. I'm 6'2, any taller and my shoulders would be above the shoulder harness openings.
I'm going to order some seat rails on payday, then arrange to send the car out for the cage and tube front.

Life has been very good to me lately, I can't complain at all.
 
Top