pinkley
b@115D33p
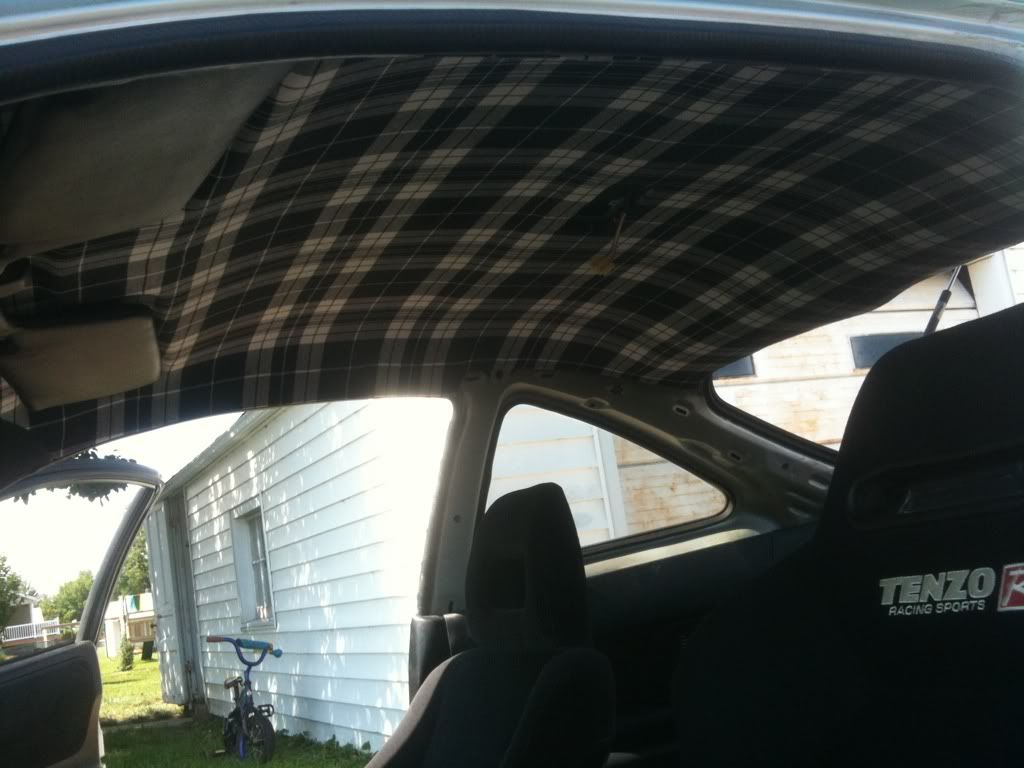
i recently reapulstered my headliner wirth some black and white plaid. i didnt take any pics as i was doig it but i had an easy to follow idea im going to post up for you all.
this was done in a 2 door hatch RS so im sure you could get an idea if you have a sun roof or 4 door
what you will need
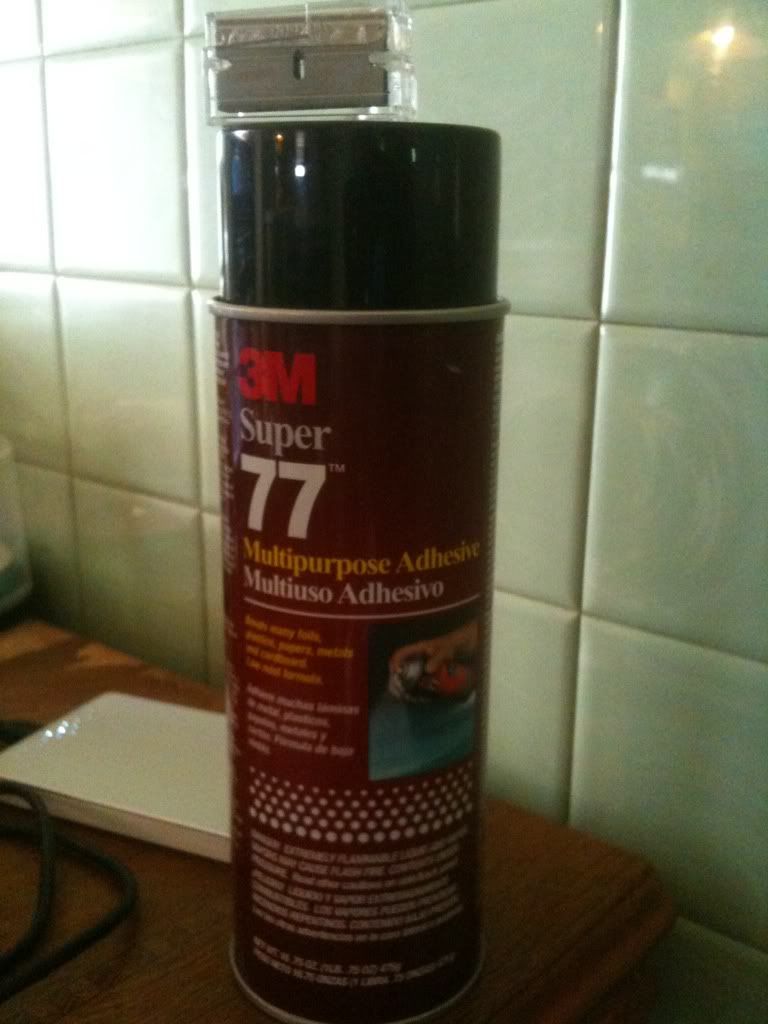
3M Super 77 Multipurpose spray Adhesive(or any other but this stuff works good, walmart for $8)

good scisors
razor blades
fabric of your choice(approximately 3.5 yards x 3.5 yards and still have some extra)
philips and regular screw drivers
17mm wrench/ratchet with socket
and PATIENCE!!!!!
FIRST,
You will need to remove all visors and brackets, rear view mirror, grab/oh shizza handle, dome light, front pillars, rear window trim and the top seat belt anchors.
i used a regular/flat screw driver to get the front pillars off being EASY and not break them. use th flat screw driver to pop the covers off the seat belt anchors. 17mm wrench to take the bolt out under the cover. then take off th rear window trim. again be careful. there are a few plastic screws on the bottom that you can just pop out with the flat scrw driver.
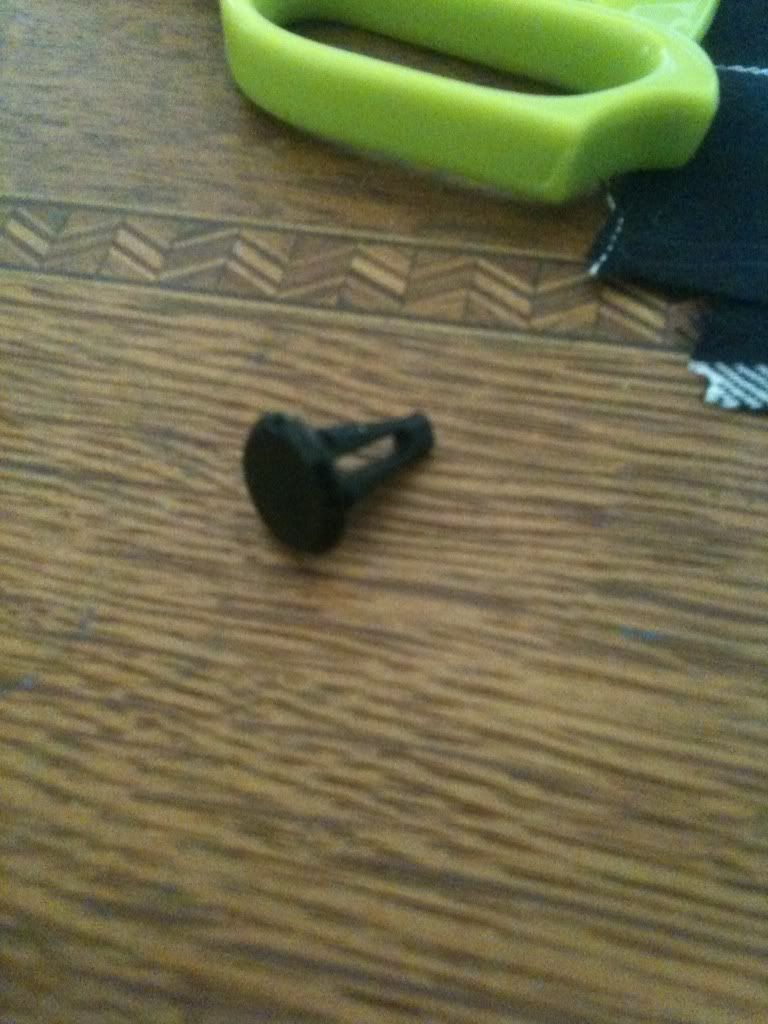
once you get all of this off there will be 2 plastic pins/panel retainers (tan) you will have to pull, try not to break them. if you do they sell them a auto parts stores but it wouldnt b a bad idea to buy some anyways.
once you get the headliner out be sure to work on a flat surface.
clean with anykind of cleaner you please, i used some zep degreaser then some soapy water and wiped dry.
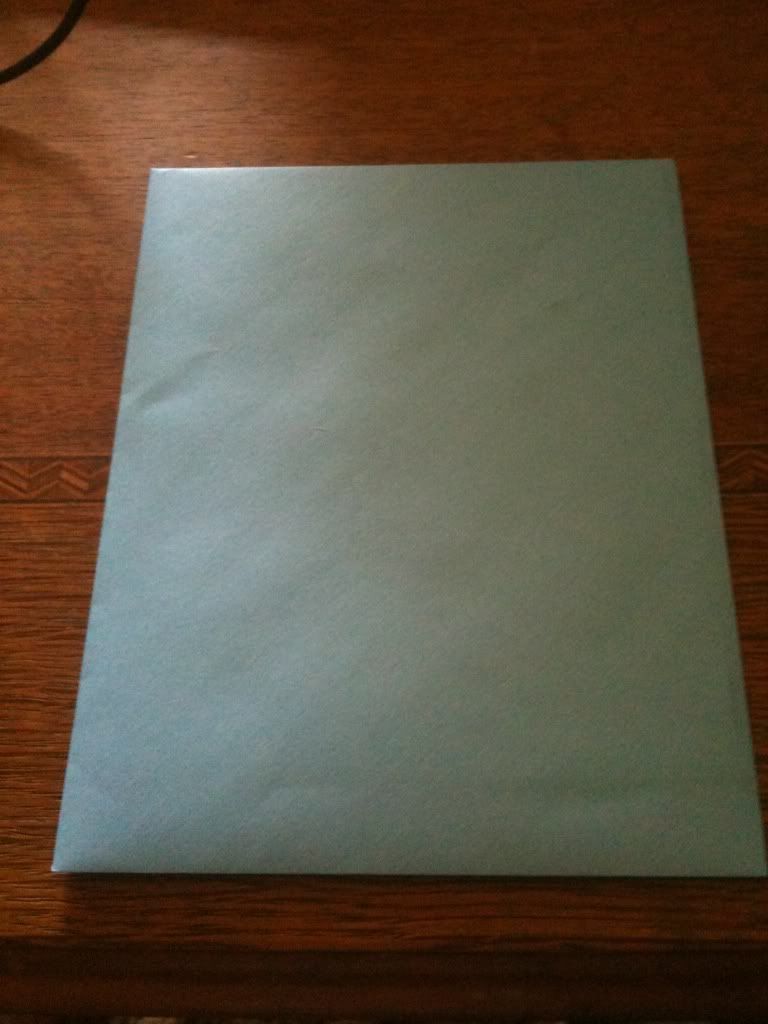
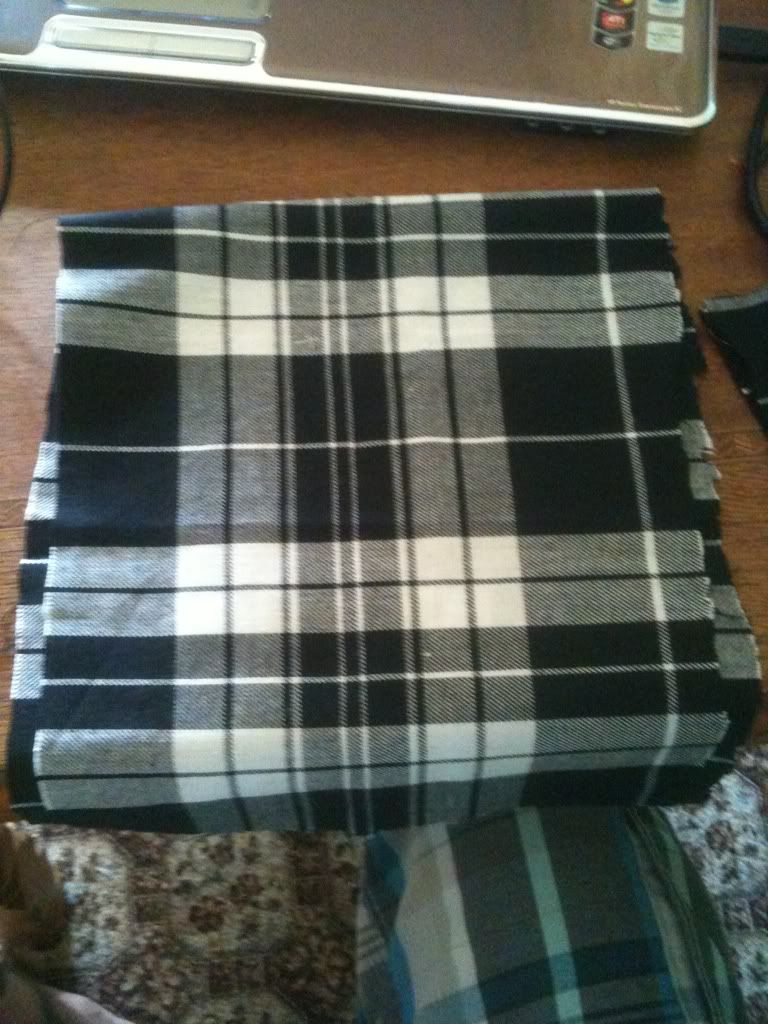
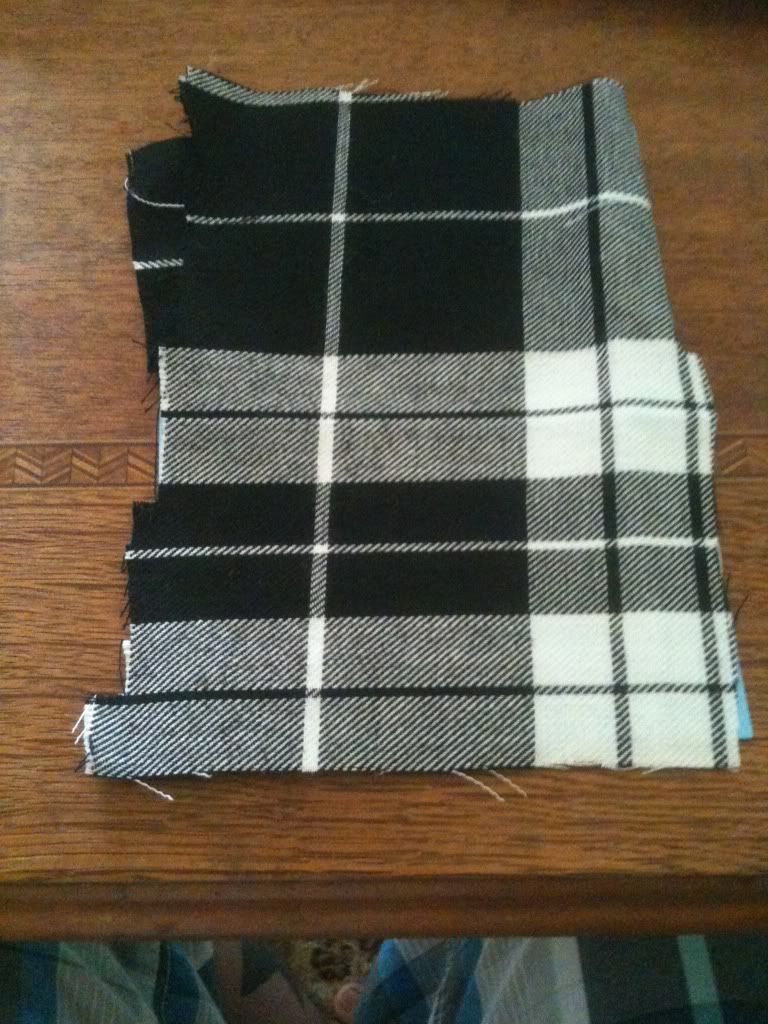
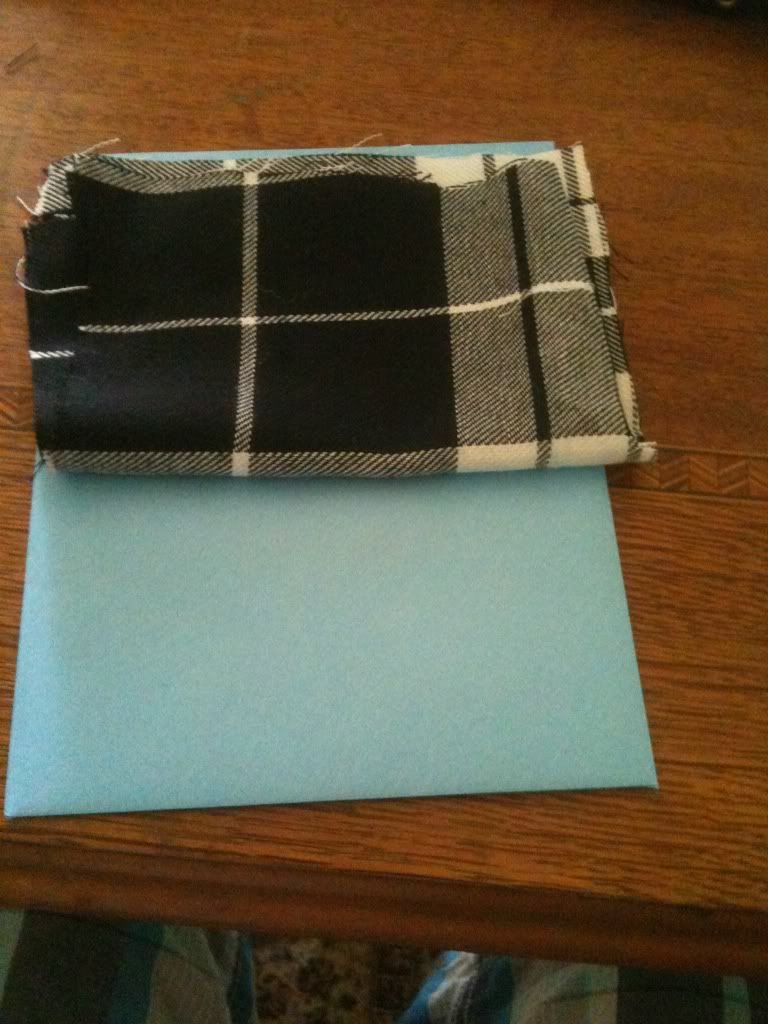
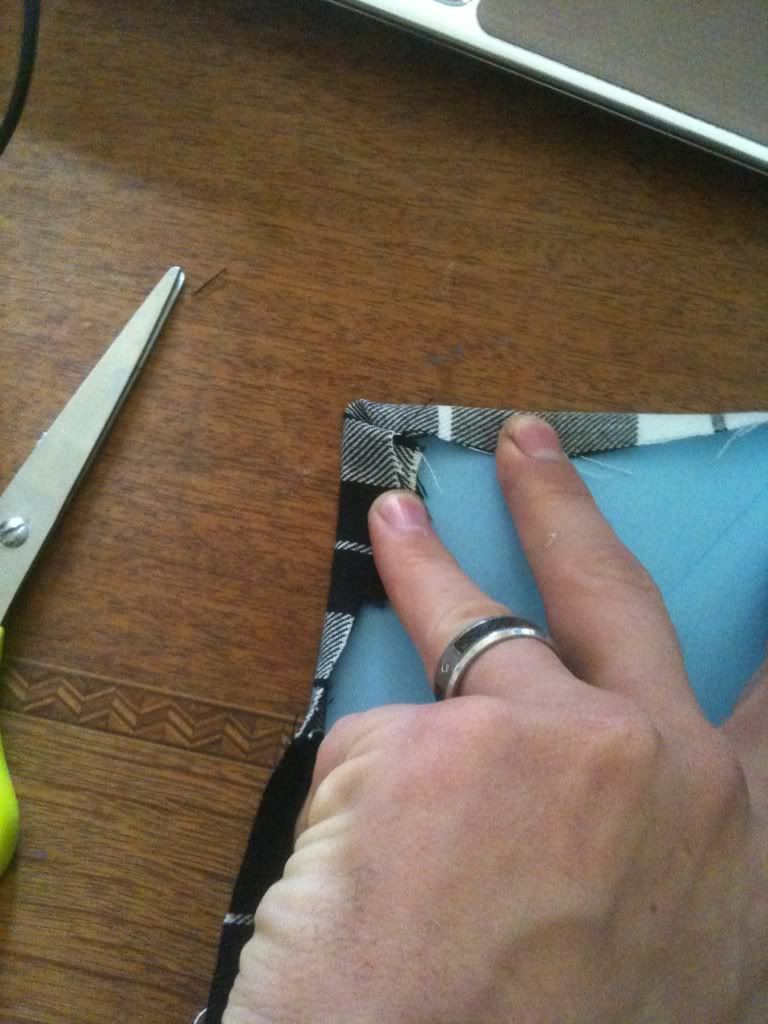
(these are just pics t give you an idea, i used a envelope and a scrap piece of fabric)
pretend headliner
lay fabric over headliner and smooth out. trim so there is about 2 inches of hang over
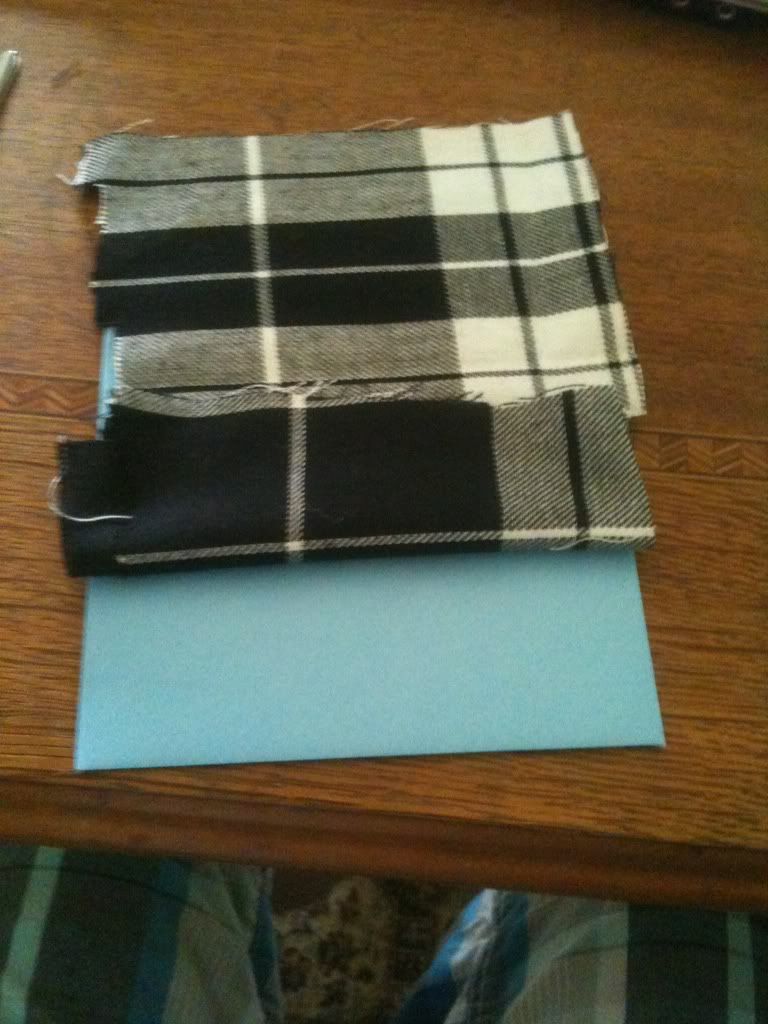
fold about 6" of the trimmed headliner backand spray headliner and fabric with spray adhesive
lay back down nd smooth out with your hand
turn the headliner around 180 degrees and flip the unglued fabric back untill you get to theglues area
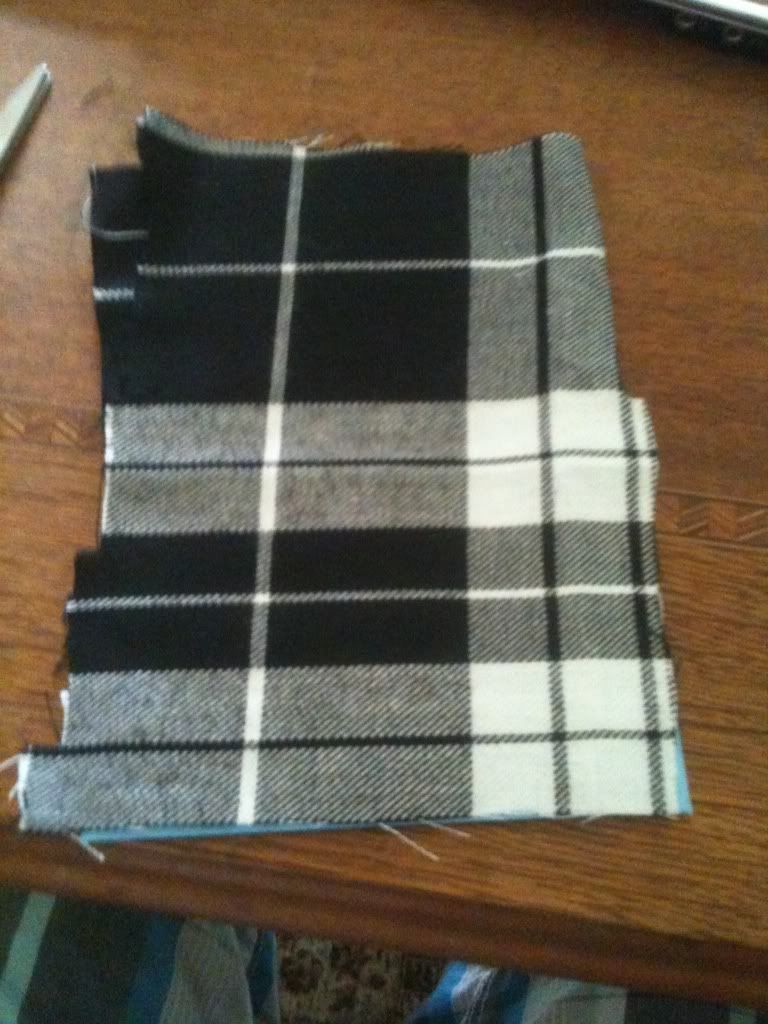
again spray 6" of the fabric and the headliner and smooth out. continue doing this until the whole headliner and fabric is glued
once you get it all glued flip the headliner upside down
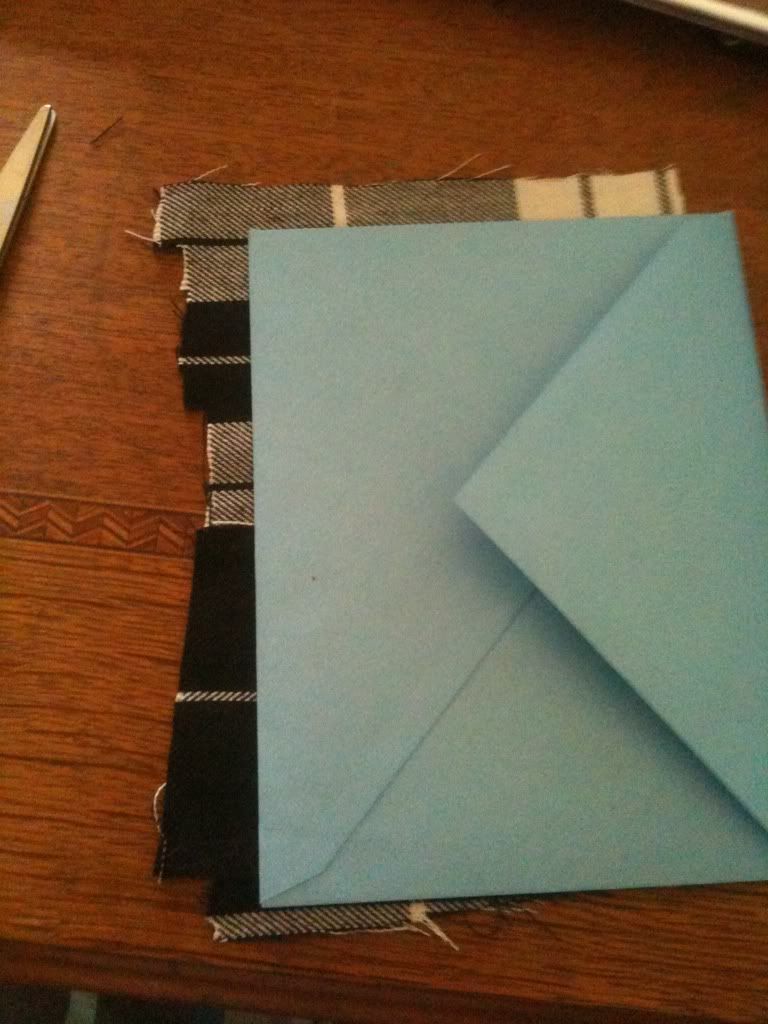
spray the over hang and the back side of the headliner with glue and start to pull the access hangover around and press it down.
using the razor blade, go around to where all the bolt holes are located and put a slit in them. be sure not to go too big. just enough where you can see the hole and push ypour bolys through.
for the dome light cut a X in the middle f it and fold the access over and glue.
after you get it all done just repeat the steps to reinstall it. its easier putting back togther than taking apart!!!
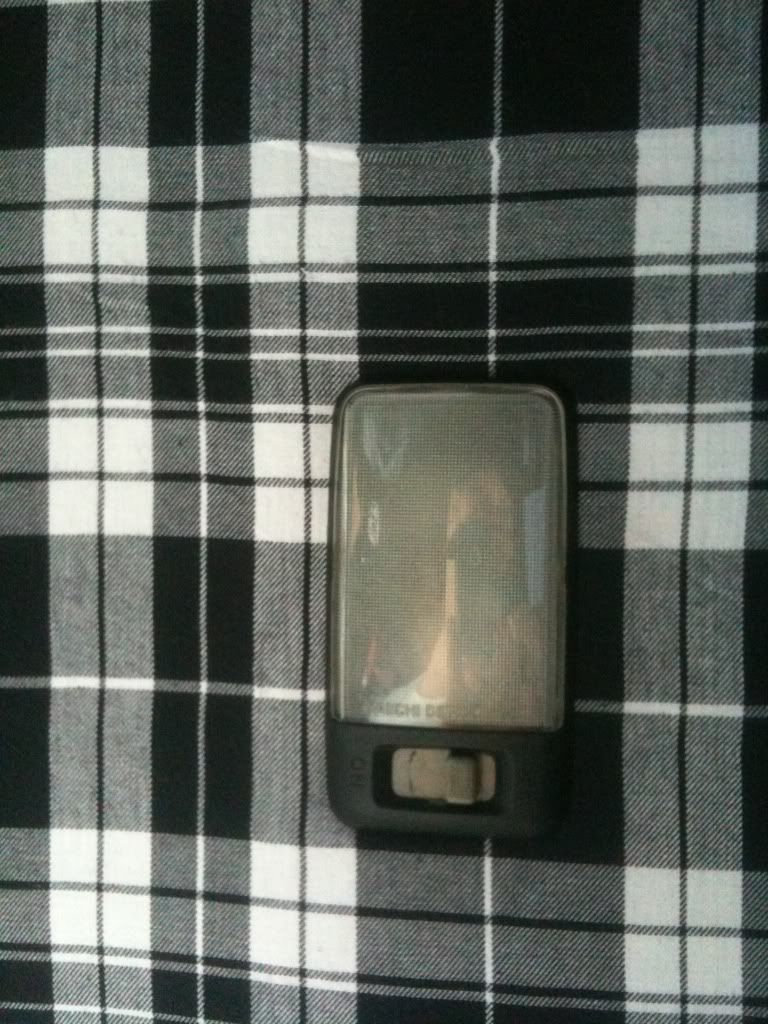
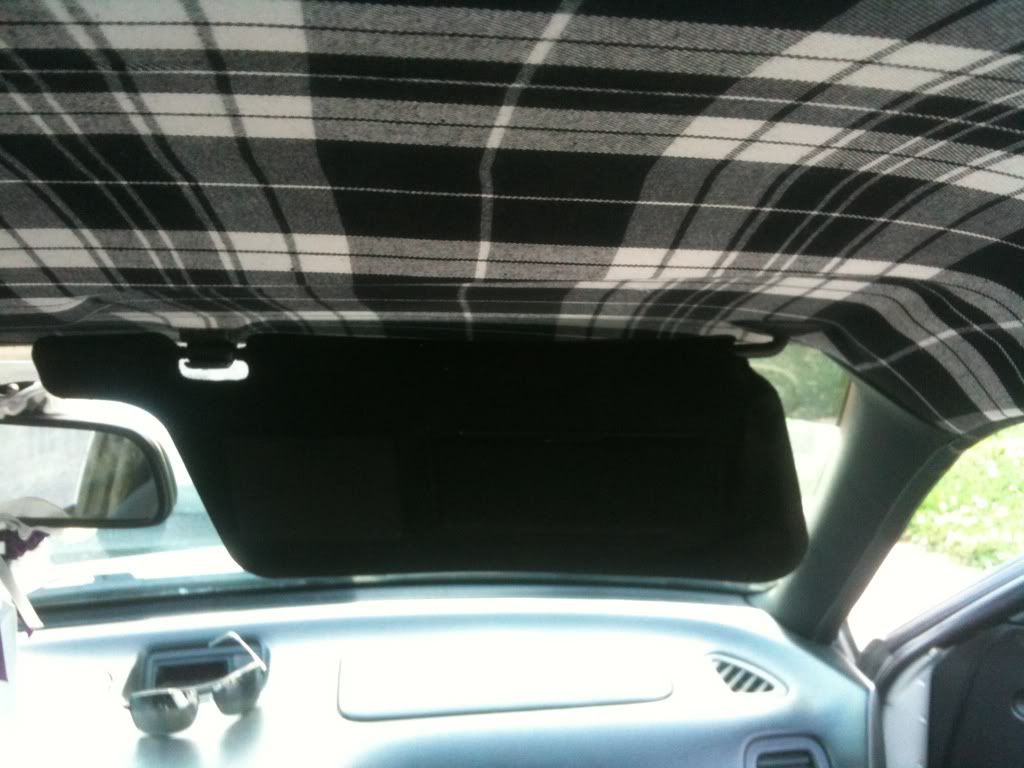
here are some pics of mine when it was finished along with my arm rest.
hope this help you guys out. sorry i didnt have real pic of the actual work.
this was done in a 2 door hatch RS so im sure you could get an idea if you have a sun roof or 4 door
what you will need
3M Super 77 Multipurpose spray Adhesive(or any other but this stuff works good, walmart for $8)
good scisors
razor blades
fabric of your choice(approximately 3.5 yards x 3.5 yards and still have some extra)
philips and regular screw drivers
17mm wrench/ratchet with socket
and PATIENCE!!!!!
FIRST,
You will need to remove all visors and brackets, rear view mirror, grab/oh shizza handle, dome light, front pillars, rear window trim and the top seat belt anchors.
i used a regular/flat screw driver to get the front pillars off being EASY and not break them. use th flat screw driver to pop the covers off the seat belt anchors. 17mm wrench to take the bolt out under the cover. then take off th rear window trim. again be careful. there are a few plastic screws on the bottom that you can just pop out with the flat scrw driver.
once you get all of this off there will be 2 plastic pins/panel retainers (tan) you will have to pull, try not to break them. if you do they sell them a auto parts stores but it wouldnt b a bad idea to buy some anyways.
once you get the headliner out be sure to work on a flat surface.
clean with anykind of cleaner you please, i used some zep degreaser then some soapy water and wiped dry.
(these are just pics t give you an idea, i used a envelope and a scrap piece of fabric)
pretend headliner
lay fabric over headliner and smooth out. trim so there is about 2 inches of hang over
fold about 6" of the trimmed headliner backand spray headliner and fabric with spray adhesive
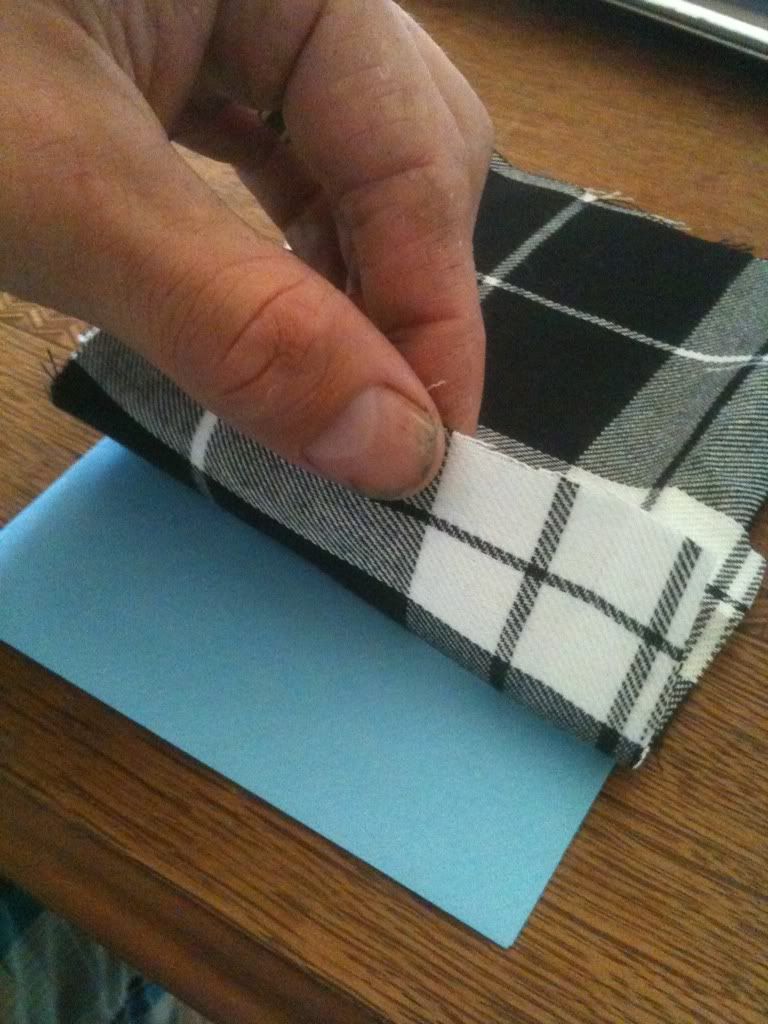
lay back down nd smooth out with your hand
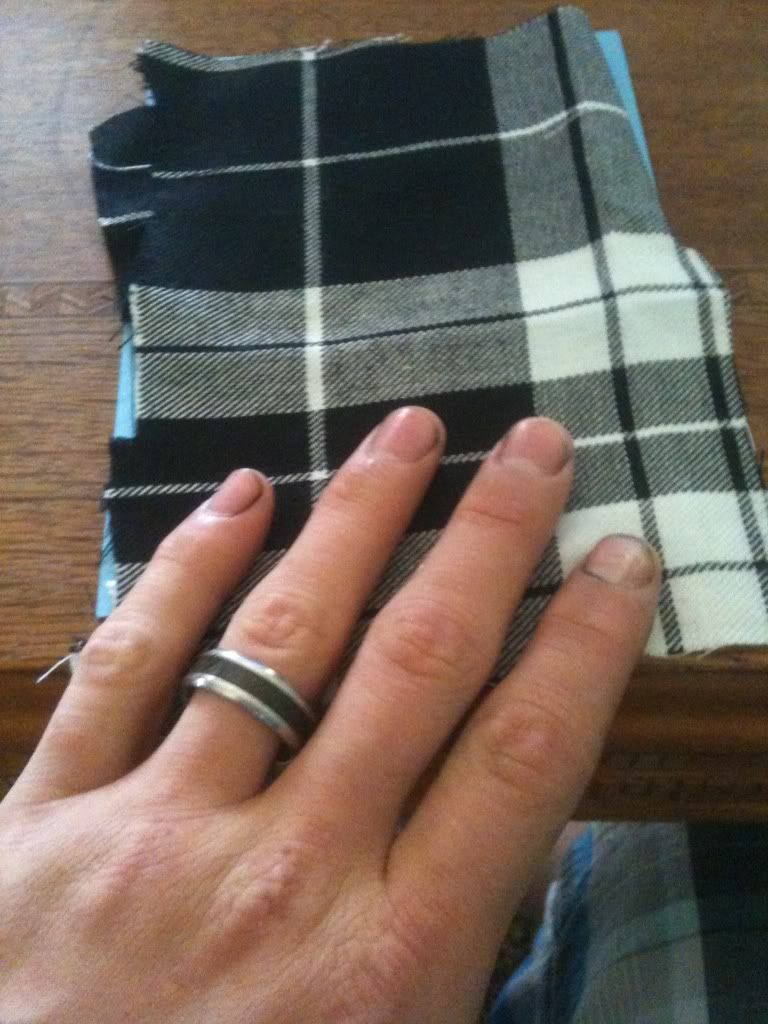
turn the headliner around 180 degrees and flip the unglued fabric back untill you get to theglues area
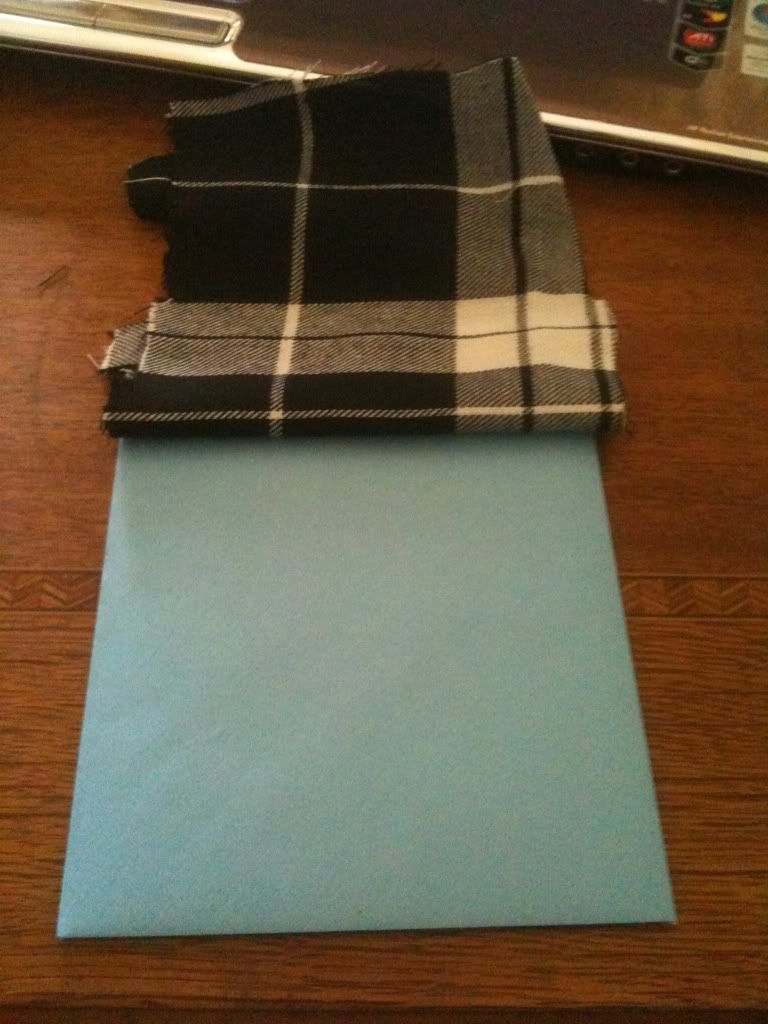
again spray 6" of the fabric and the headliner and smooth out. continue doing this until the whole headliner and fabric is glued
once you get it all glued flip the headliner upside down
spray the over hang and the back side of the headliner with glue and start to pull the access hangover around and press it down.
using the razor blade, go around to where all the bolt holes are located and put a slit in them. be sure not to go too big. just enough where you can see the hole and push ypour bolys through.
for the dome light cut a X in the middle f it and fold the access over and glue.
after you get it all done just repeat the steps to reinstall it. its easier putting back togther than taking apart!!!
here are some pics of mine when it was finished along with my arm rest.

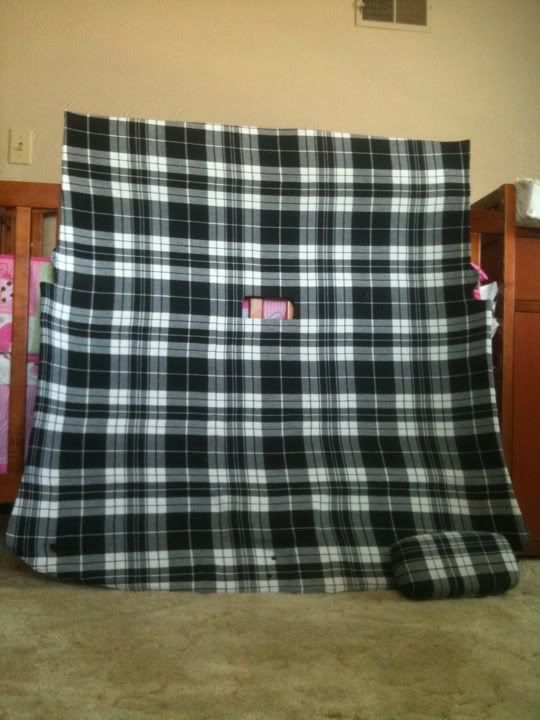
hope this help you guys out. sorry i didnt have real pic of the actual work.