Muckman’s High Compression Super Build
Muckman
Not a M0derator
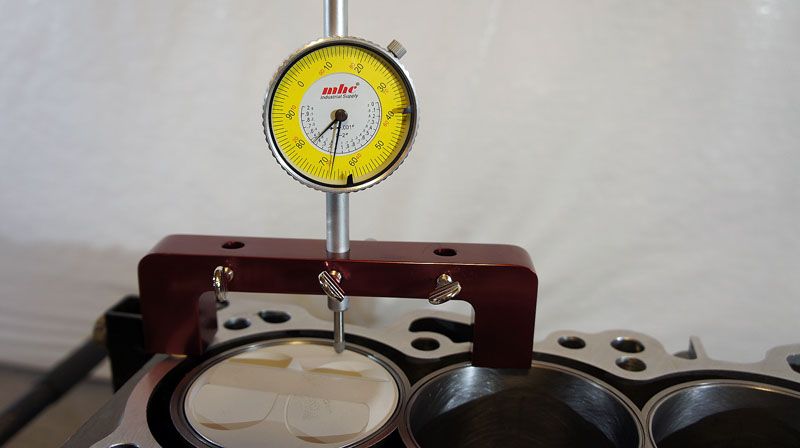
Since .005” more than I expected had to be milled off the sleeves to level the deck I was worried about piston to deck height. I needed to measure piston to deck height before working on the bearings and rings because I may need to order a thicker head gasket. I loosely threw the rotating assembly together so I could take some quick measurements.
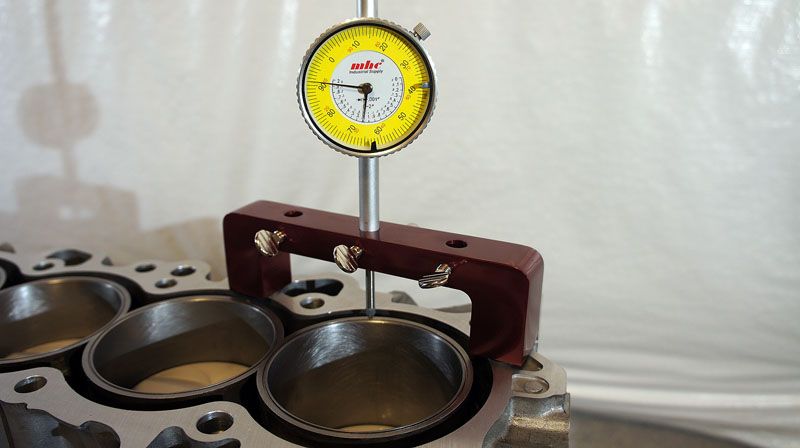
Using a dial indicator bridge I took relative measurements of the intake and exhaust side of the pistons from the top of the sleeve. The difference would give me the p2d. Rotating the crank in the natural counter clockwise direction would put the thrust axis on the exhaust side as the piston travels up causing the intake side to tilt up. Therefore the intake side had the closest p2d and where I would measure from.
Some builders don’t bother with piston tilt in the p2d measurement by measuring from the wrist pin centerline but I can’t measure there because of the high compression dome. Some builders average the high and the low of the tilt. I simply measured the worst case of the natural tilt which is the intake side.
1 – Intake .0087
1 – Exhaust .0089
2 – Intake .0076
2 – Exhaust .0105
3 – Intake .0088
3 – Exhaust .0094
4 – Intake .0095
4 – Exhaust .0112
Intake looks to be approximately .009” p2d which is twice as much as I had expected. I wont have to buy a thicker head gasket. I can use a GE bored OEM head gasket which is a big relief.
I can’t confirm the compressed thickness of the OEM head gasket. Zealworks says its .026” but I’ve read .028” and .030” elsewhere. If we say its .026” then we have a perfect .035” p2h and ideal quench.
Muckman
Not a M0derator
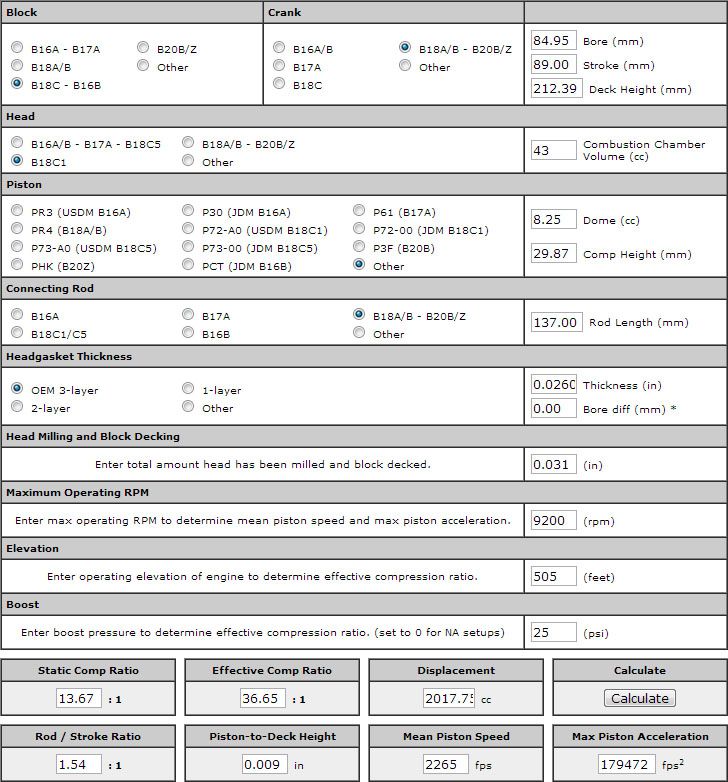
Here are the final specs run through Zealautowerks Compression Calculator. The only measurement I am not sure about is how much has been milled from the deck. Its been resurfaced at least 5 times over the years. But as long as you know the other measurements (original deck height, stroke, rod length, compression height) you can reverse calculate how much has been removed and that comes to .031". I was estimating .024~28" so its close.
Anyways with .031" removed it comes out to 13.67:1 static compression ratio. Or if we go with .028" its 13.53. We'll just round it to 13.5 to keep it simple. Either way its a metric f$ck ton. We are also at 2,017cc so offically over 2L for the first time. And rod/stroke ratio is at a respectable 1.54.

Anyways with .031" removed it comes out to 13.67:1 static compression ratio. Or if we go with .028" its 13.53. We'll just round it to 13.5 to keep it simple. Either way its a metric f$ck ton. We are also at 2,017cc so offically over 2L for the first time. And rod/stroke ratio is at a respectable 1.54.
Nick_C78
New Member
Damn... loving the detail. Random question though. When you had the block honed do they use a torque plate?
Dude... 13.5+ compression, 2.0L with 1.54 rod/stroke ratio... That would be impressive for NA. The fact that it is boosted is just hilarious and goes against many peoples logic.
Dude... 13.5+ compression, 2.0L with 1.54 rod/stroke ratio... That would be impressive for NA. The fact that it is boosted is just hilarious and goes against many peoples logic.
Muckman
Not a M0derator
Yes. Open deck sleeves will shift under load so you have to bore/hone under a torque plate.When you had the block honed do they use a torque plate?
That's the secret to turbo lag. Build it so when you're under the boost curve its making enough torque all motor to make up the difference.It would be a monster NA
Muckman
Not a M0derator
I started working on the bearings. In the past I only used Honda OEM bearings for the different sizes but they are expensive and I’m not convinced they are any better. I can get a complete set of ACLs (mains and rods) for $100. In my previous engine I used a combination of ACLs where I could and OEMs where I needed a different thickness. And later when I tore it down the ACL bearings looked just as good as the OEM bearings. So this time I will keep it simple and go with ACL Race bearings.
Factory service manual for a B18C1 calls for:
Mains 1, 2, 4, 5: .0009 ~ .0017”
Main 3: .0012 ~ .0019”
Rods: .0013 ~ .0020”
In my previous motors I targeted .0015” for main and rod bearing clearances because it was an easy round number to measure for. And this time I wanted to go with looser clearances towards the big end of the range.
My new target clearances:
Mains 1, 2, 4, 5: .0017”
Main 3: .0019”
Rods: .0020”
The main bearings are all really tight with the new crank. I won’t bore everyone with pictures of this stage.
Clearances with ACL Race STD:
Main 1: .0010”
Main 2: .0010”
Main3: .0012”
Main4: .0010”
Main5: .0010”
Rods: .0010”
These are way too tight! I am going to need the thinnest bearings available. After some research it turns out ACL Race bearings come in a XTR size which is supposed to give .0010” additional clearance so I ordered a set.
Clearances with ACL Race XTR:
Main 1: .0015”
Main 2: .0018”
Main3: .0020”
Main4: .0018”
Main5: .0015”
Rods: .0015”
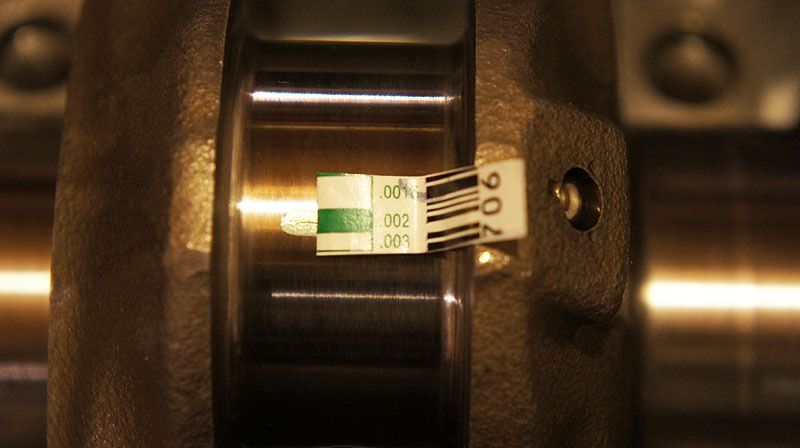
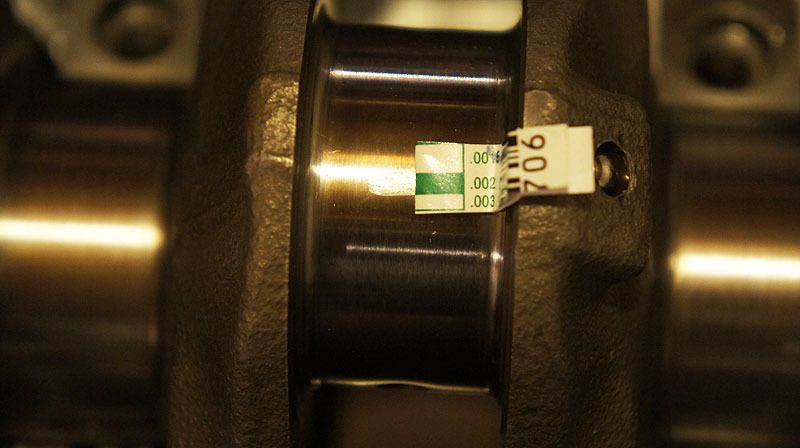
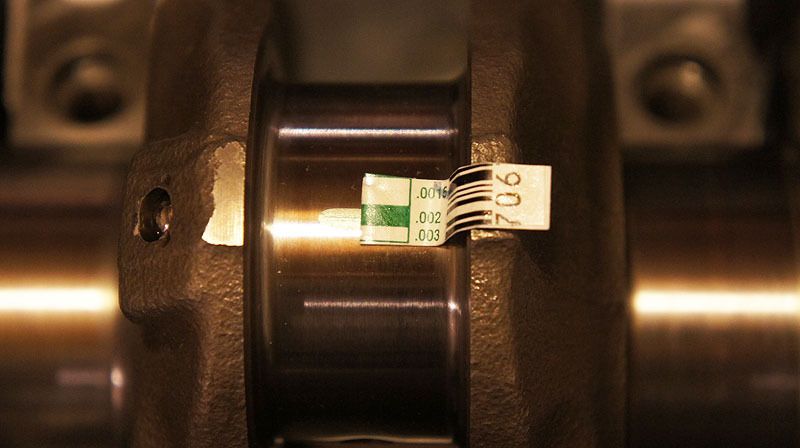
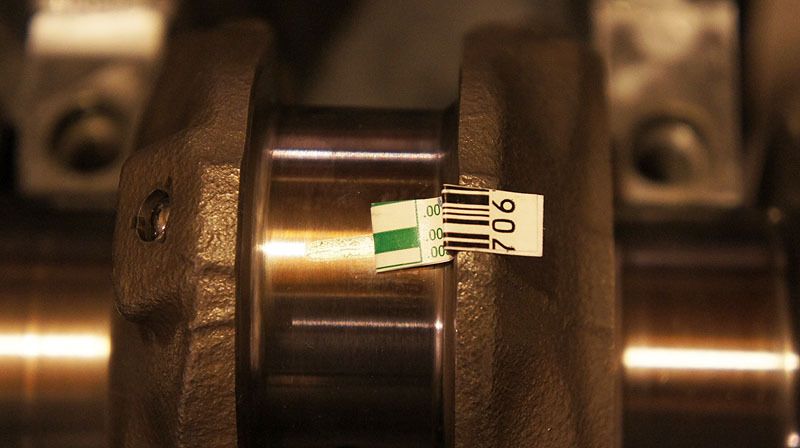
Mains 1 and 5 are still too tight and the rods are still way off. This is the thinnest bearing on the market so machine work is required to get the clearances I want. I need the rods honed and the crank turned. A lot of people say you can’t turn a Honda crank because they are nitrided and this layer will be removed. This is not true. The nitriding process can be as deep as .0020” so taking half a thousandth is no problem. The alternative to turning the crank is a line hone of the mains. This can be very problematic and expensive. Because the mains caps are steel and the block is aluminum any machine work is going to cut more into the softer aluminum. This moves the center line up and in turn my piston to deck height will be reduced. I can’t afford to risk this as my block has been decked 5 times before. A line hone will also make sure the crank journals are in a perfect line but I’m positive mine is OK as I’ve never had any main bearing issues or uneven wear before.
Muckman
Not a M0derator
The machine shop wasn’t able to take as much off of main journal #5 as I requested. They said it was in danger of becoming out of round. I don’t understand how taking a few tenths is fine but a few more and it would get out of round but who am I to argue. I needed half a thousandths extra clearance on the rods so they split the difference between the rod and the journals. Very good customer service there and quick turn around times. This cost me $110.
Material removed:
Rod big ends: +.0002 ~ 0003”
Rod journals: -.0002 ~ 0003”
Main journal #1: -.0002”
Main journal #5: -.0005”
Main1 new clearance: A little less than .0020, we’ll call it .0018"

Main2 new clearance: .0020”

Main3 new clearance: .0021”

Main4 new clearance: .0020”

Main5 new clearance: .0017”, I had hoped for closer to 20 but 17 ten thou will do.

Rod1 new clearance: .0018”

Rod2 new clearance: .0018”

Rod3 new clearance: .0018”

Rod4 new clearance: .0018”

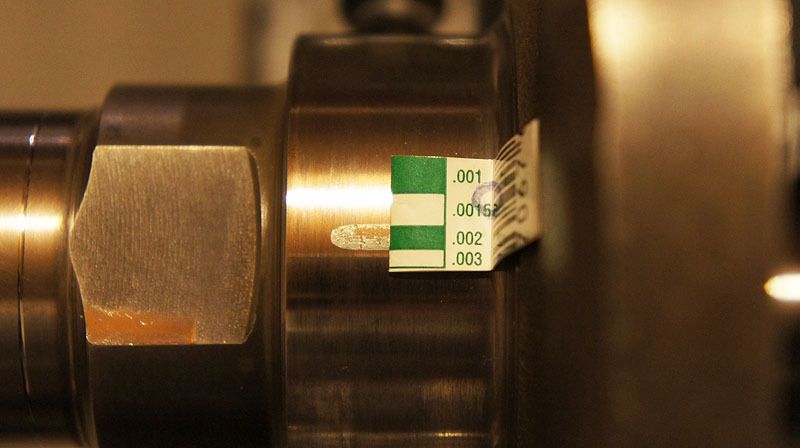
Main5 is the only clearance that concerns me. The clearance should have been opened up more from the machine work. Maybe it’s the plastigage, but I remeasured it 10 times. However its in factory spec and the last journal can be a little tighter than the rest so it'll do.
Material removed:
Rod big ends: +.0002 ~ 0003”
Rod journals: -.0002 ~ 0003”
Main journal #1: -.0002”
Main journal #5: -.0005”
Main1 new clearance: A little less than .0020, we’ll call it .0018"
Main2 new clearance: .0020”
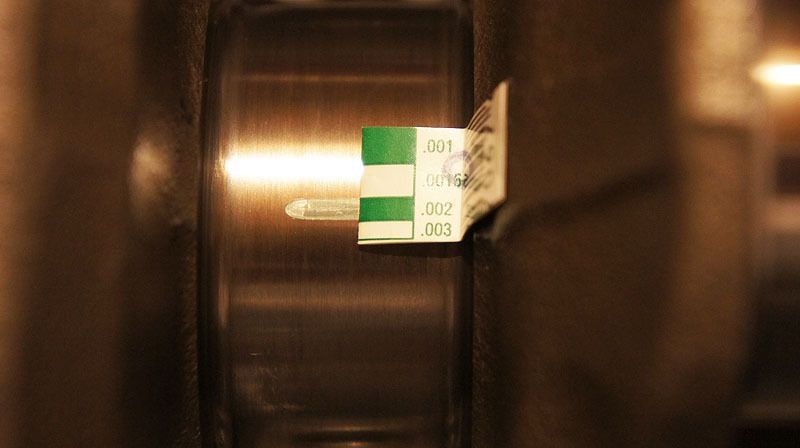
Main3 new clearance: .0021”
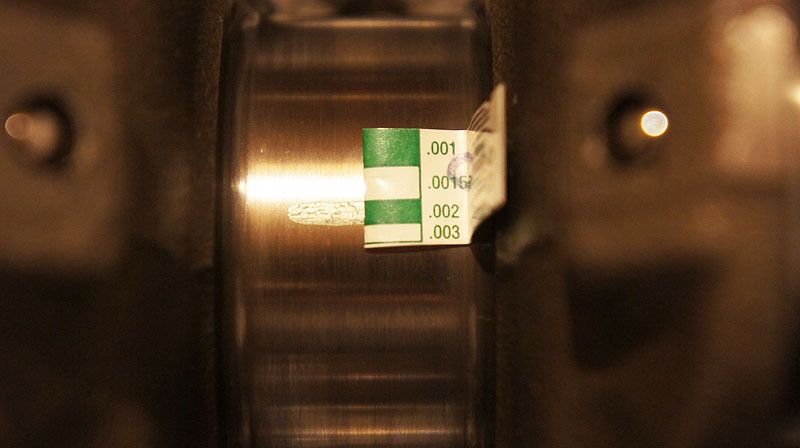
Main4 new clearance: .0020”
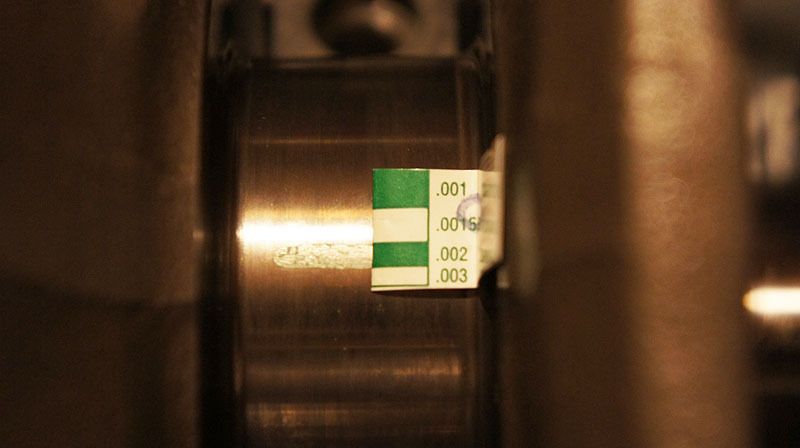
Main5 new clearance: .0017”, I had hoped for closer to 20 but 17 ten thou will do.
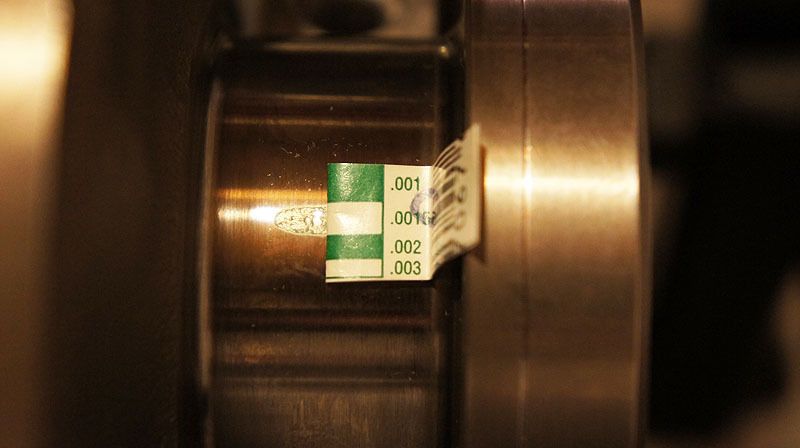
Rod1 new clearance: .0018”
Rod2 new clearance: .0018”
Rod3 new clearance: .0018”
Rod4 new clearance: .0018”
Main5 is the only clearance that concerns me. The clearance should have been opened up more from the machine work. Maybe it’s the plastigage, but I remeasured it 10 times. However its in factory spec and the last journal can be a little tighter than the rest so it'll do.
Nick_C78
New Member
Interesting about them not being able to do all of the journals. In danger of becoming out of round...? Well, at least they are careful and pay attention to stuff like that. Also, good to see the good ol plastigage being put to use. I completely agree with you about ACL Race bearings. I used to be an OEM bearings or nothing kind of guy. But after rebuilding 5 times, that shit adds up.
Muckman
Not a M0derator
I’ve used OEM and ACL (race and standard) bearings and I don’t see any shortcomings from ACLs.
The package price is very appealing so it’s my first choice unless a customer is adamant about OEM.
Plus the Race HX is thinner than OEM Red which got me out of a jam.
I use plastigage because it’s quick and easy. I do own a dial bore gauge and micrometer set but it can be time intensive and each measurement has a margin of error that compounds. So in the end I still use a plastigage as a final sanity check on a tool measured rotating assembly.
Nick_C78
New Member
Yeah, the price is what sold me on it. All my ACL's look good when I open the block. Never see any abnormal wear.
Me too man. To me, the Mic and the dial are just for "estimates"... very close estimates, but still basically just to help me figure out where to start/which bearings to buy. Then I plastigage for assurance.
Me too man. To me, the Mic and the dial are just for "estimates"... very close estimates, but still basically just to help me figure out where to start/which bearings to buy. Then I plastigage for assurance.
Muckman
Not a M0derator
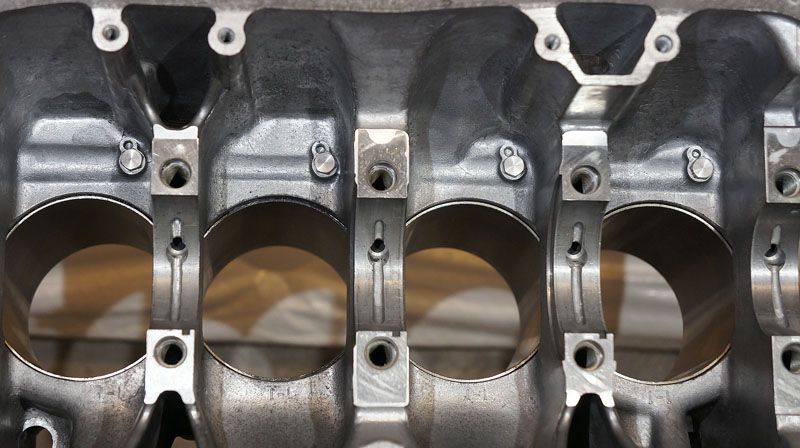
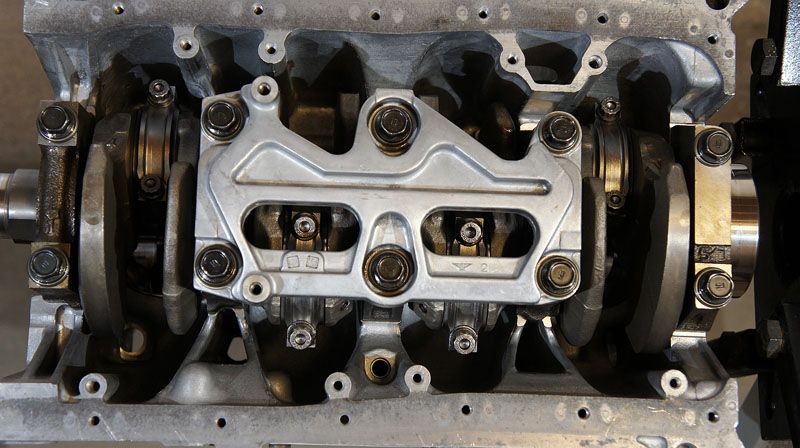
Finished the bearings. I also replaced the ARP rod bolts with part number 200-6207. This year I decided to give in and plug the oil squirters since they are in the way and pointless.
Final bearing clearances
Main1: .0018”
Main2: .0020”
Main3: .0021”
Main4: .0020”
Main5: .0017”
ALL Rods: .0018”
GE oil squirter plugs torqued to 8ftlbs with Loctite.

Final bearing clearances
Main1: .0018”
Main2: .0020”
Main3: .0021”
Main4: .0020”
Main5: .0017”
ALL Rods: .0018”
GE oil squirter plugs torqued to 8ftlbs with Loctite.
Muckman
Not a M0derator
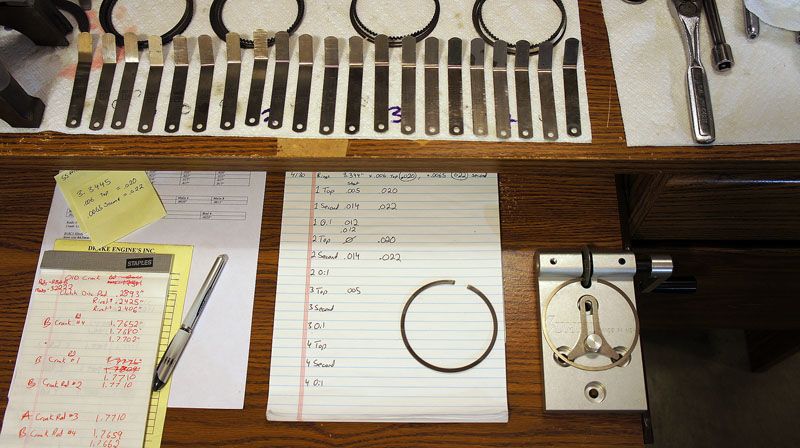
Finished the rings and installed the pistons. The formula I’m using is bore x .006 top and bore x .0065 second rings. Bore is 3.3445” so that works out to be .020” top and .022” second rings.
Since bore is 84.95mm, the 85mm rings were tight. I had to file them ALL, even oil rings.

Work area

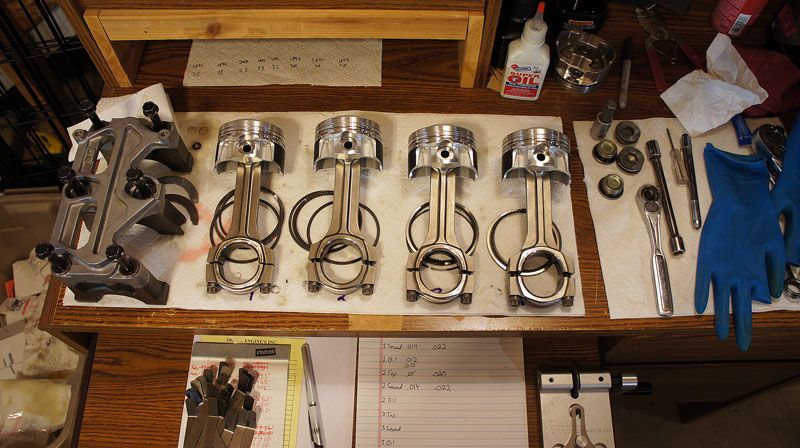
Pistons and rods assembled with retaining clips

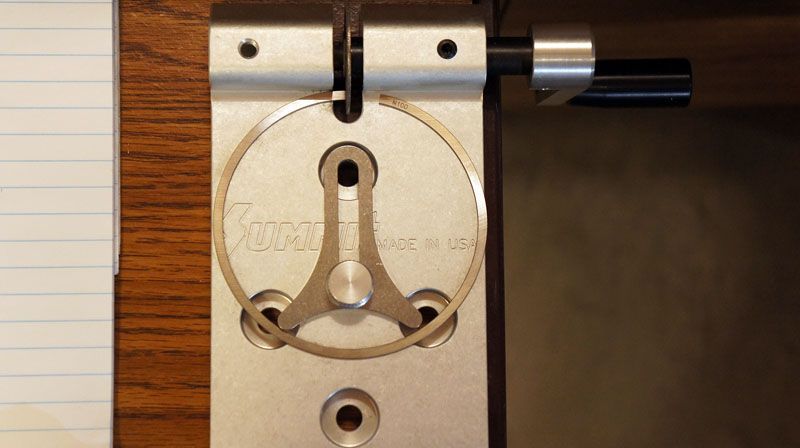
My trusty ring filer. I couldn’t imagine filing rings without one.

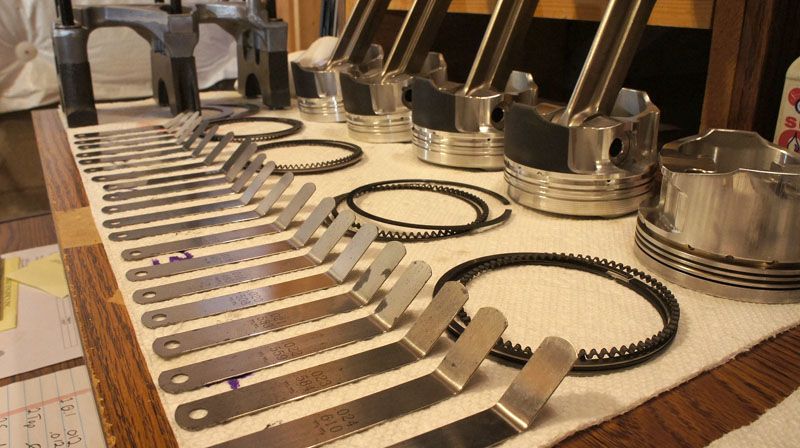
Feeler gauges lined up to measure ring end gaps

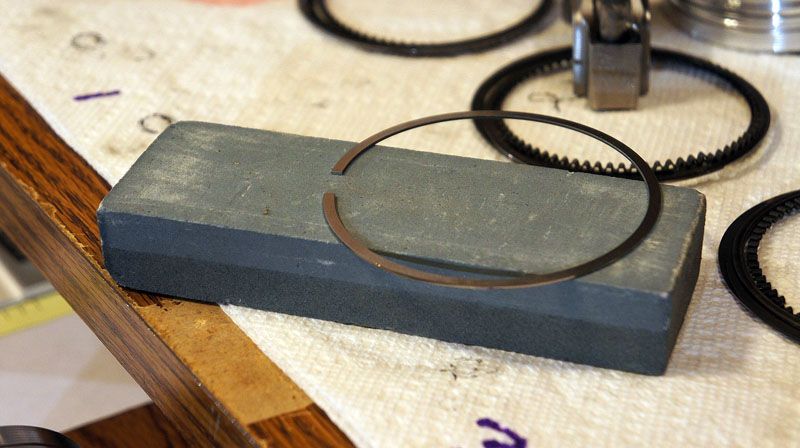
I debur the rings with a sharpening stone.

Installing the rings onto the piston

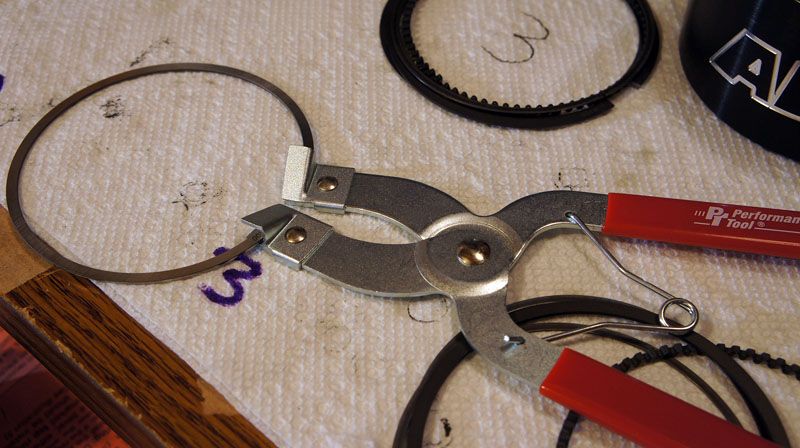
New ring tool to make life easier

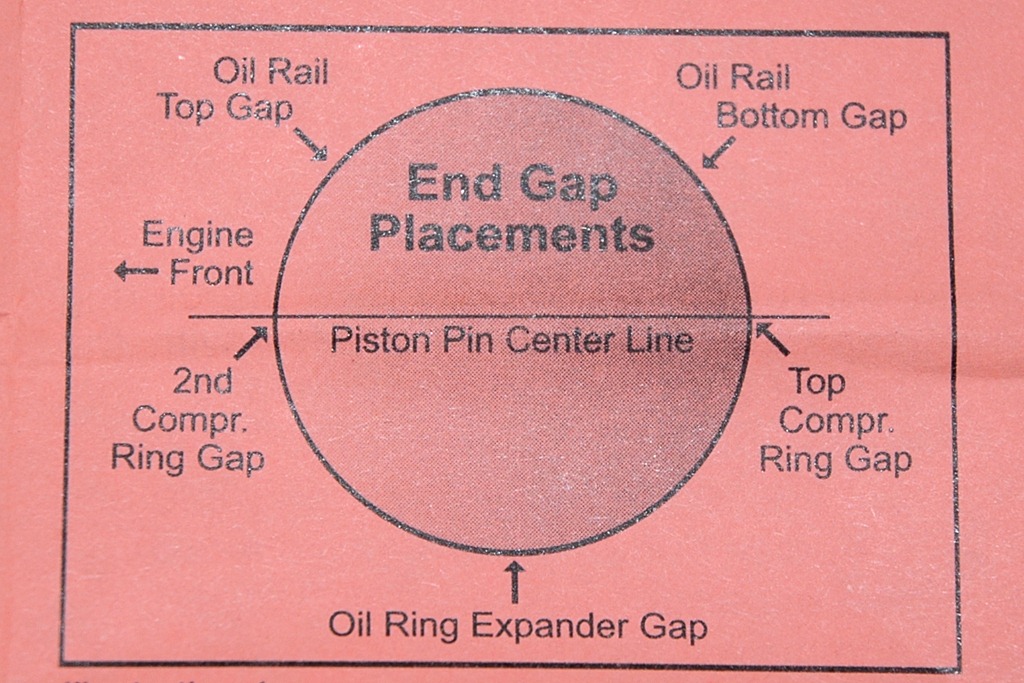
How I clock the ring gaps. Note: Front of engine points to #1.

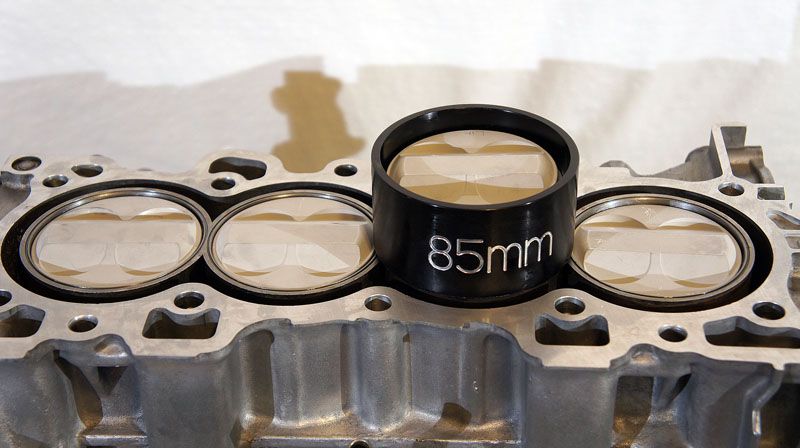
New ARP tapered ring compressor. This tool is amazing. No more broken rings or even having to use force to insert pistons. I was able to press them in with my thumb. It’s even recessed for Orings.

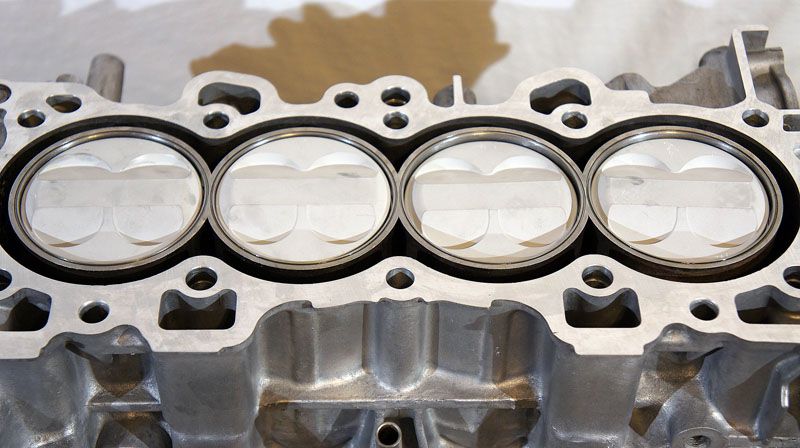
All pistons installed

All rod bolts torqued to 50 ftlbs with moly lube. The replacement rod bolts call for 55ftlbs but the rods call for 50 which has always worked for me and I didn’t want to oval the rod bores.

Since bore is 84.95mm, the 85mm rings were tight. I had to file them ALL, even oil rings.
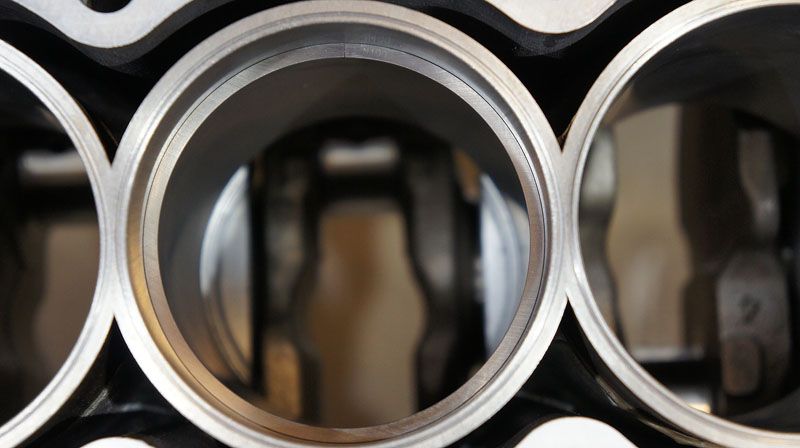
Work area
Pistons and rods assembled with retaining clips
My trusty ring filer. I couldn’t imagine filing rings without one.
Feeler gauges lined up to measure ring end gaps
I debur the rings with a sharpening stone.
Installing the rings onto the piston
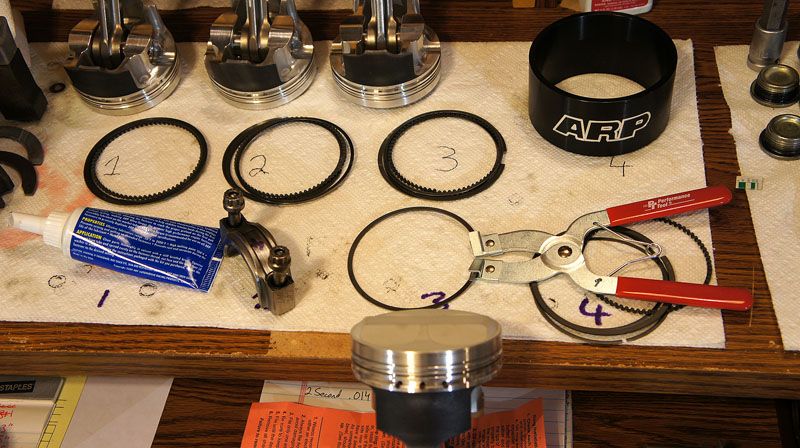
New ring tool to make life easier
How I clock the ring gaps. Note: Front of engine points to #1.
New ARP tapered ring compressor. This tool is amazing. No more broken rings or even having to use force to insert pistons. I was able to press them in with my thumb. It’s even recessed for Orings.
All pistons installed
All rod bolts torqued to 50 ftlbs with moly lube. The replacement rod bolts call for 55ftlbs but the rods call for 50 which has always worked for me and I didn’t want to oval the rod bores.
randomhobo
automagic user
Highlight of my day when you make a new post like that.
g3teg97
Super Moderator
x2Highlight of my day when you make a new post like that.
